


Telephone Jack Wiring
In this document I am going to show you how to wire up a telephone jack.
It's intimidating if you haven't done it before, but it's actually pretty easy.
This will be useful if you are installing a new jack, or it may be necessary to replace an existing wall jack that has been damaged by corrosion or filled with paint by incompent painters. A bad jack will cause an inconsistent and generally terrible connection.
A wall plate or surface mount jack should cost less then ten dollars at your local hardware store such as Fisher Lumber, Home Depot or online at Amazon.
Most houses are wired with standard wall plate jacks. They are held in place by two screws and are mounted in a rectangular hole in the wall. Remove the two screws and pull off the plate and it will look something like this:

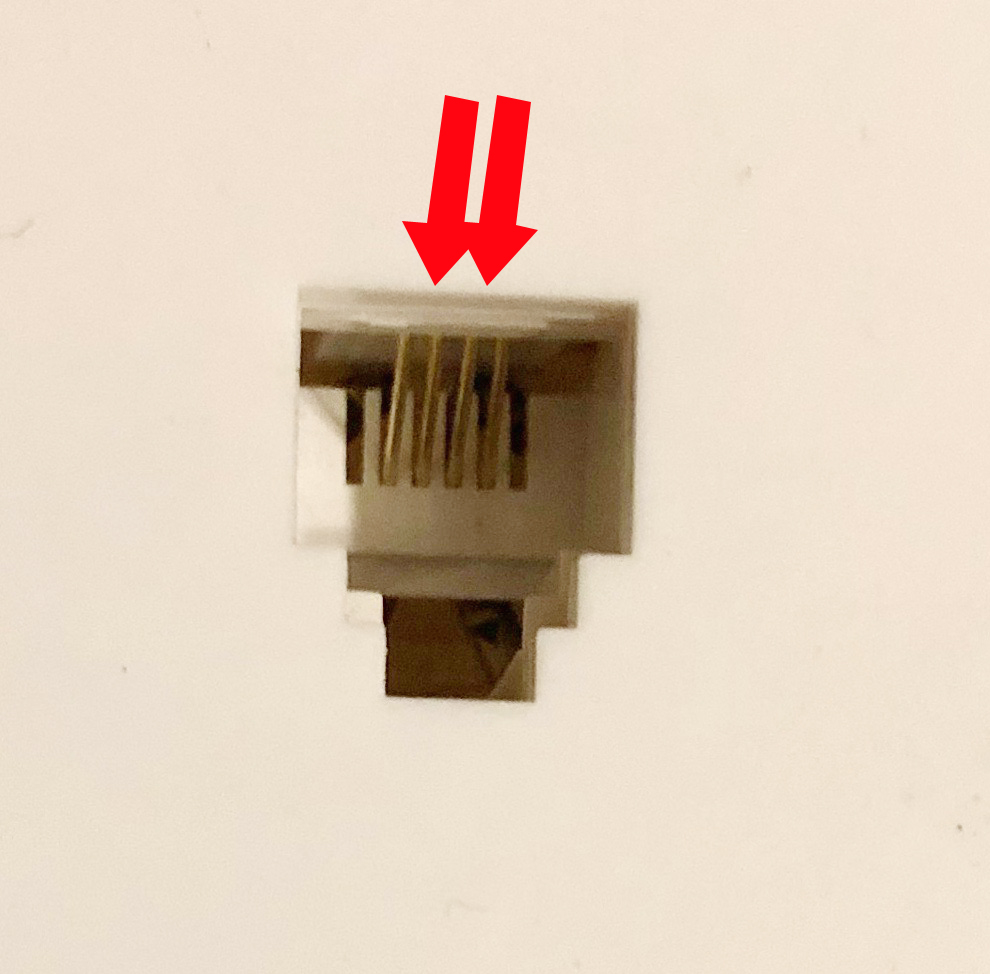
The active wires are the ones in the middle, which are usually coded red and green, as shown in the photo above.
We can see the active wires in the front of the jack if we look up close.
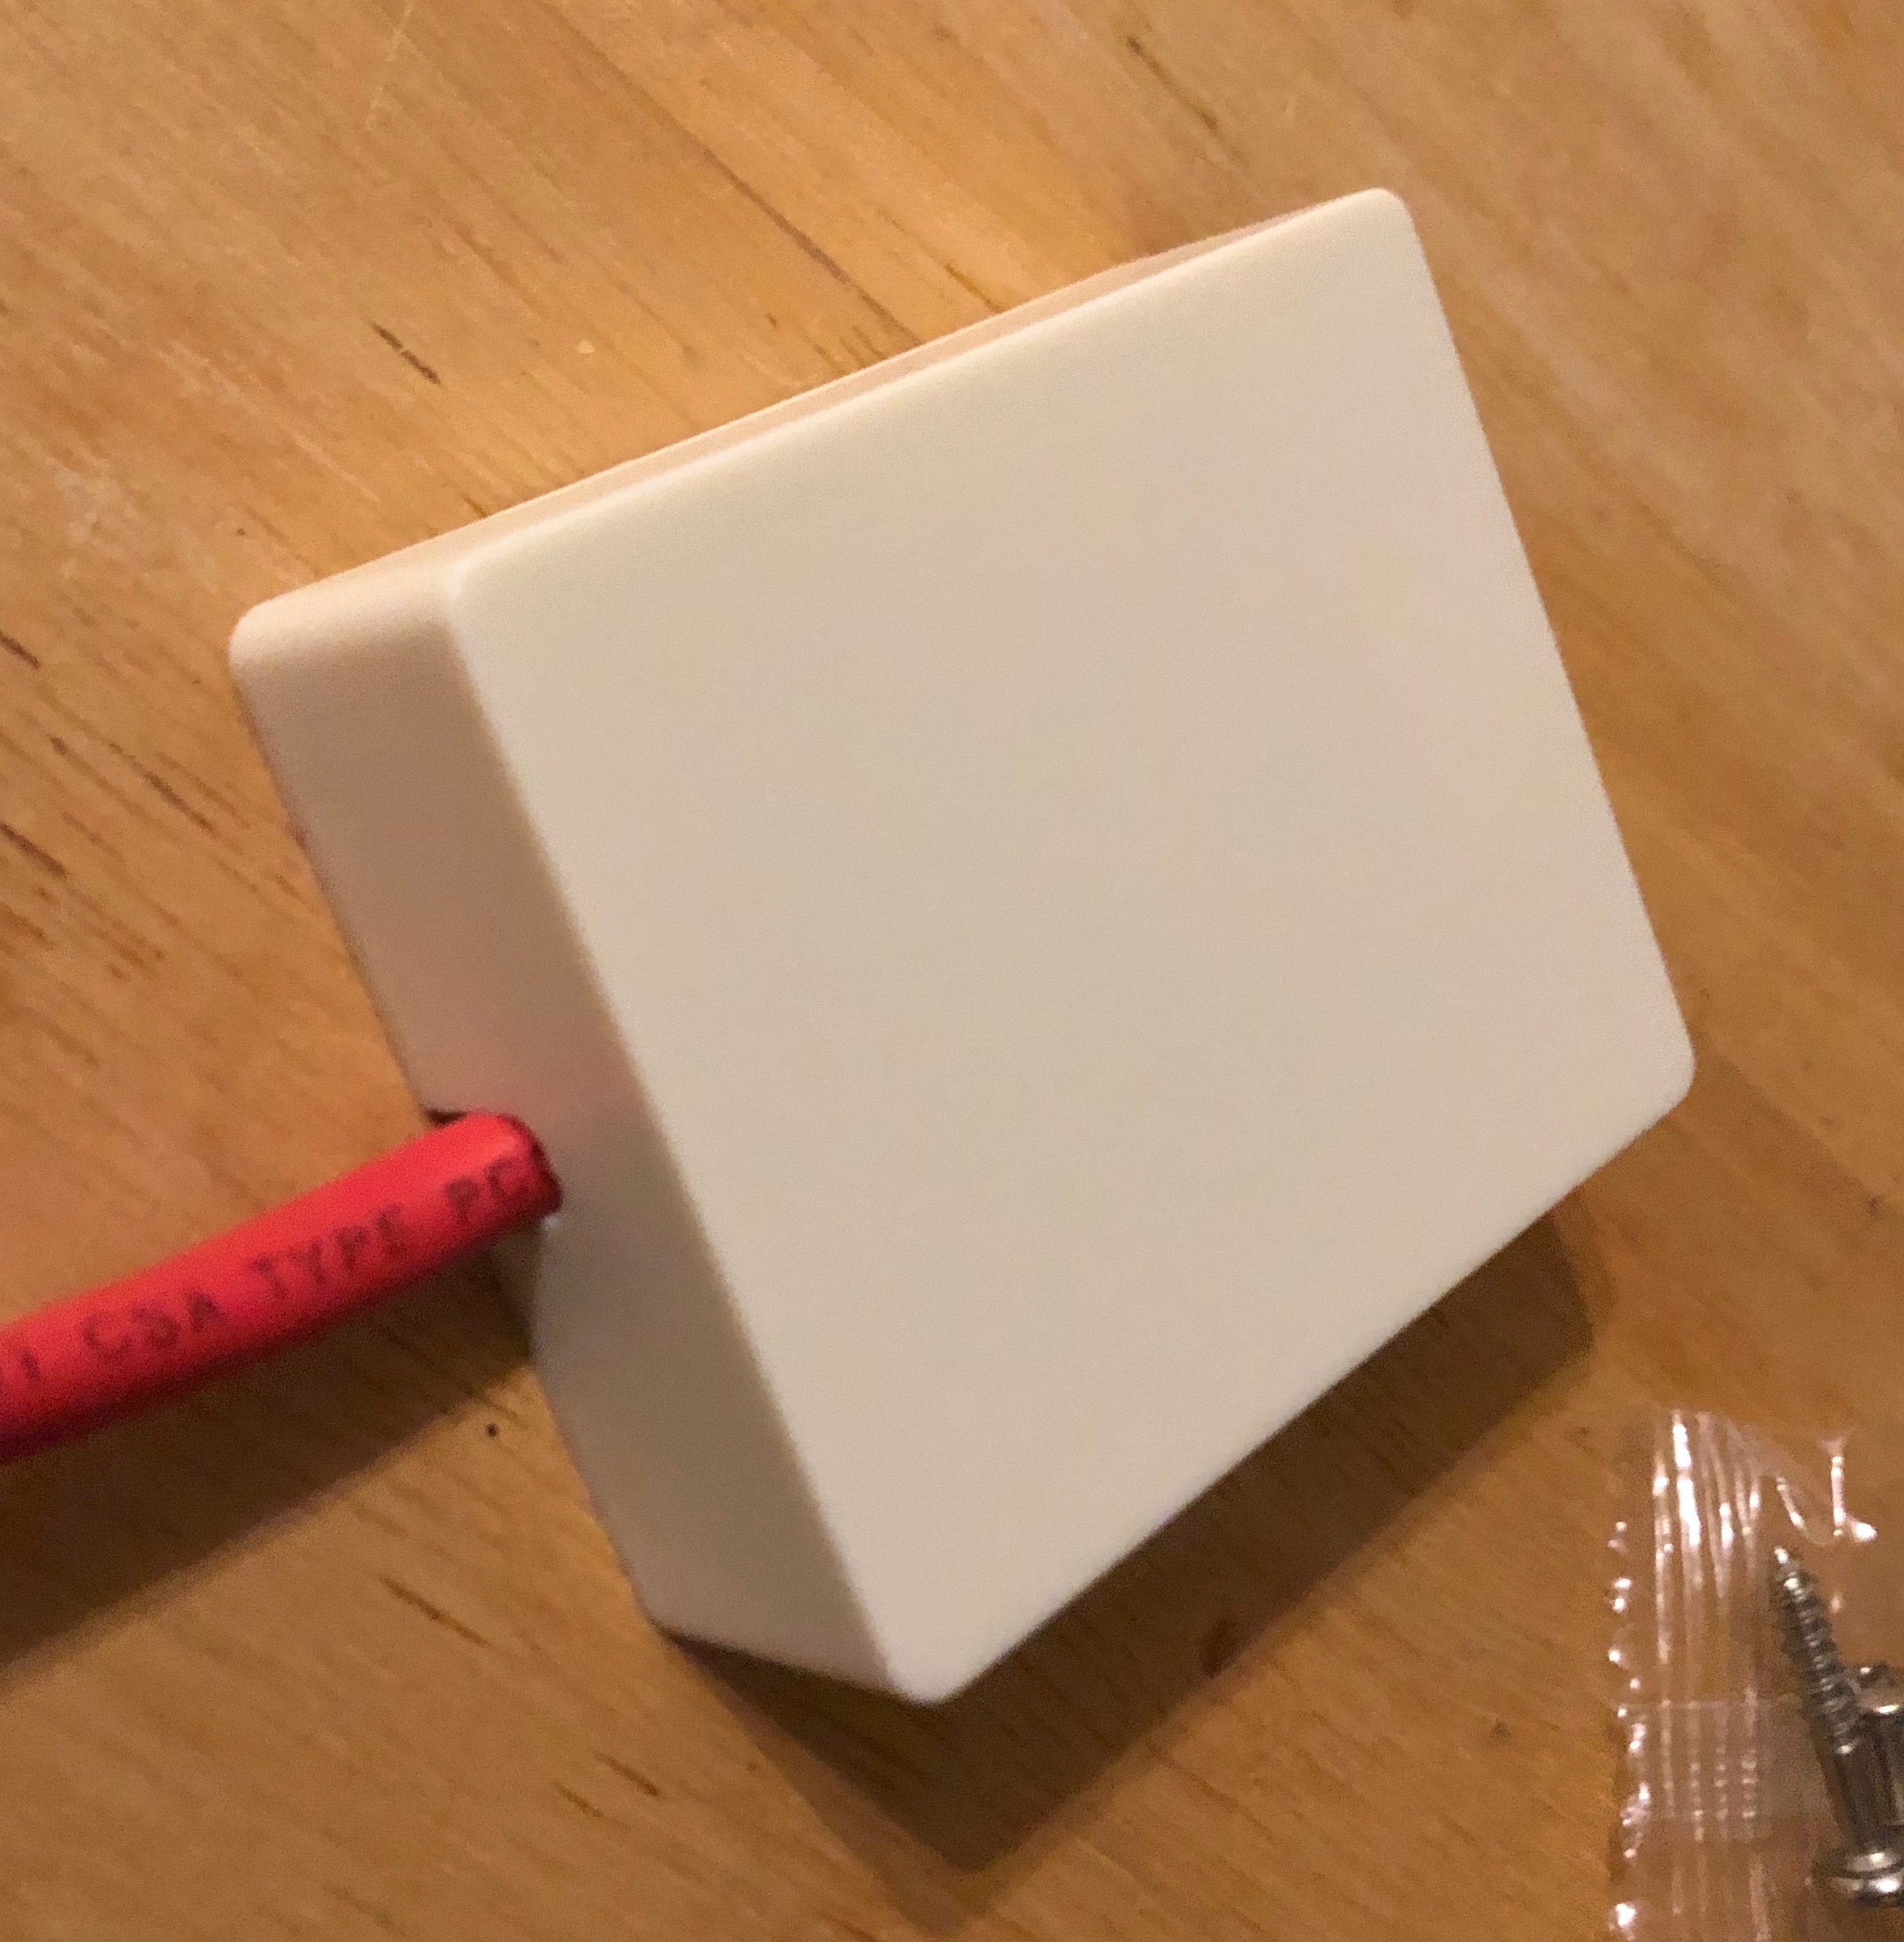
As an alternative you can use a surface mount jack. The advantage is they don't require you to cut a hole in the wall to mount them.
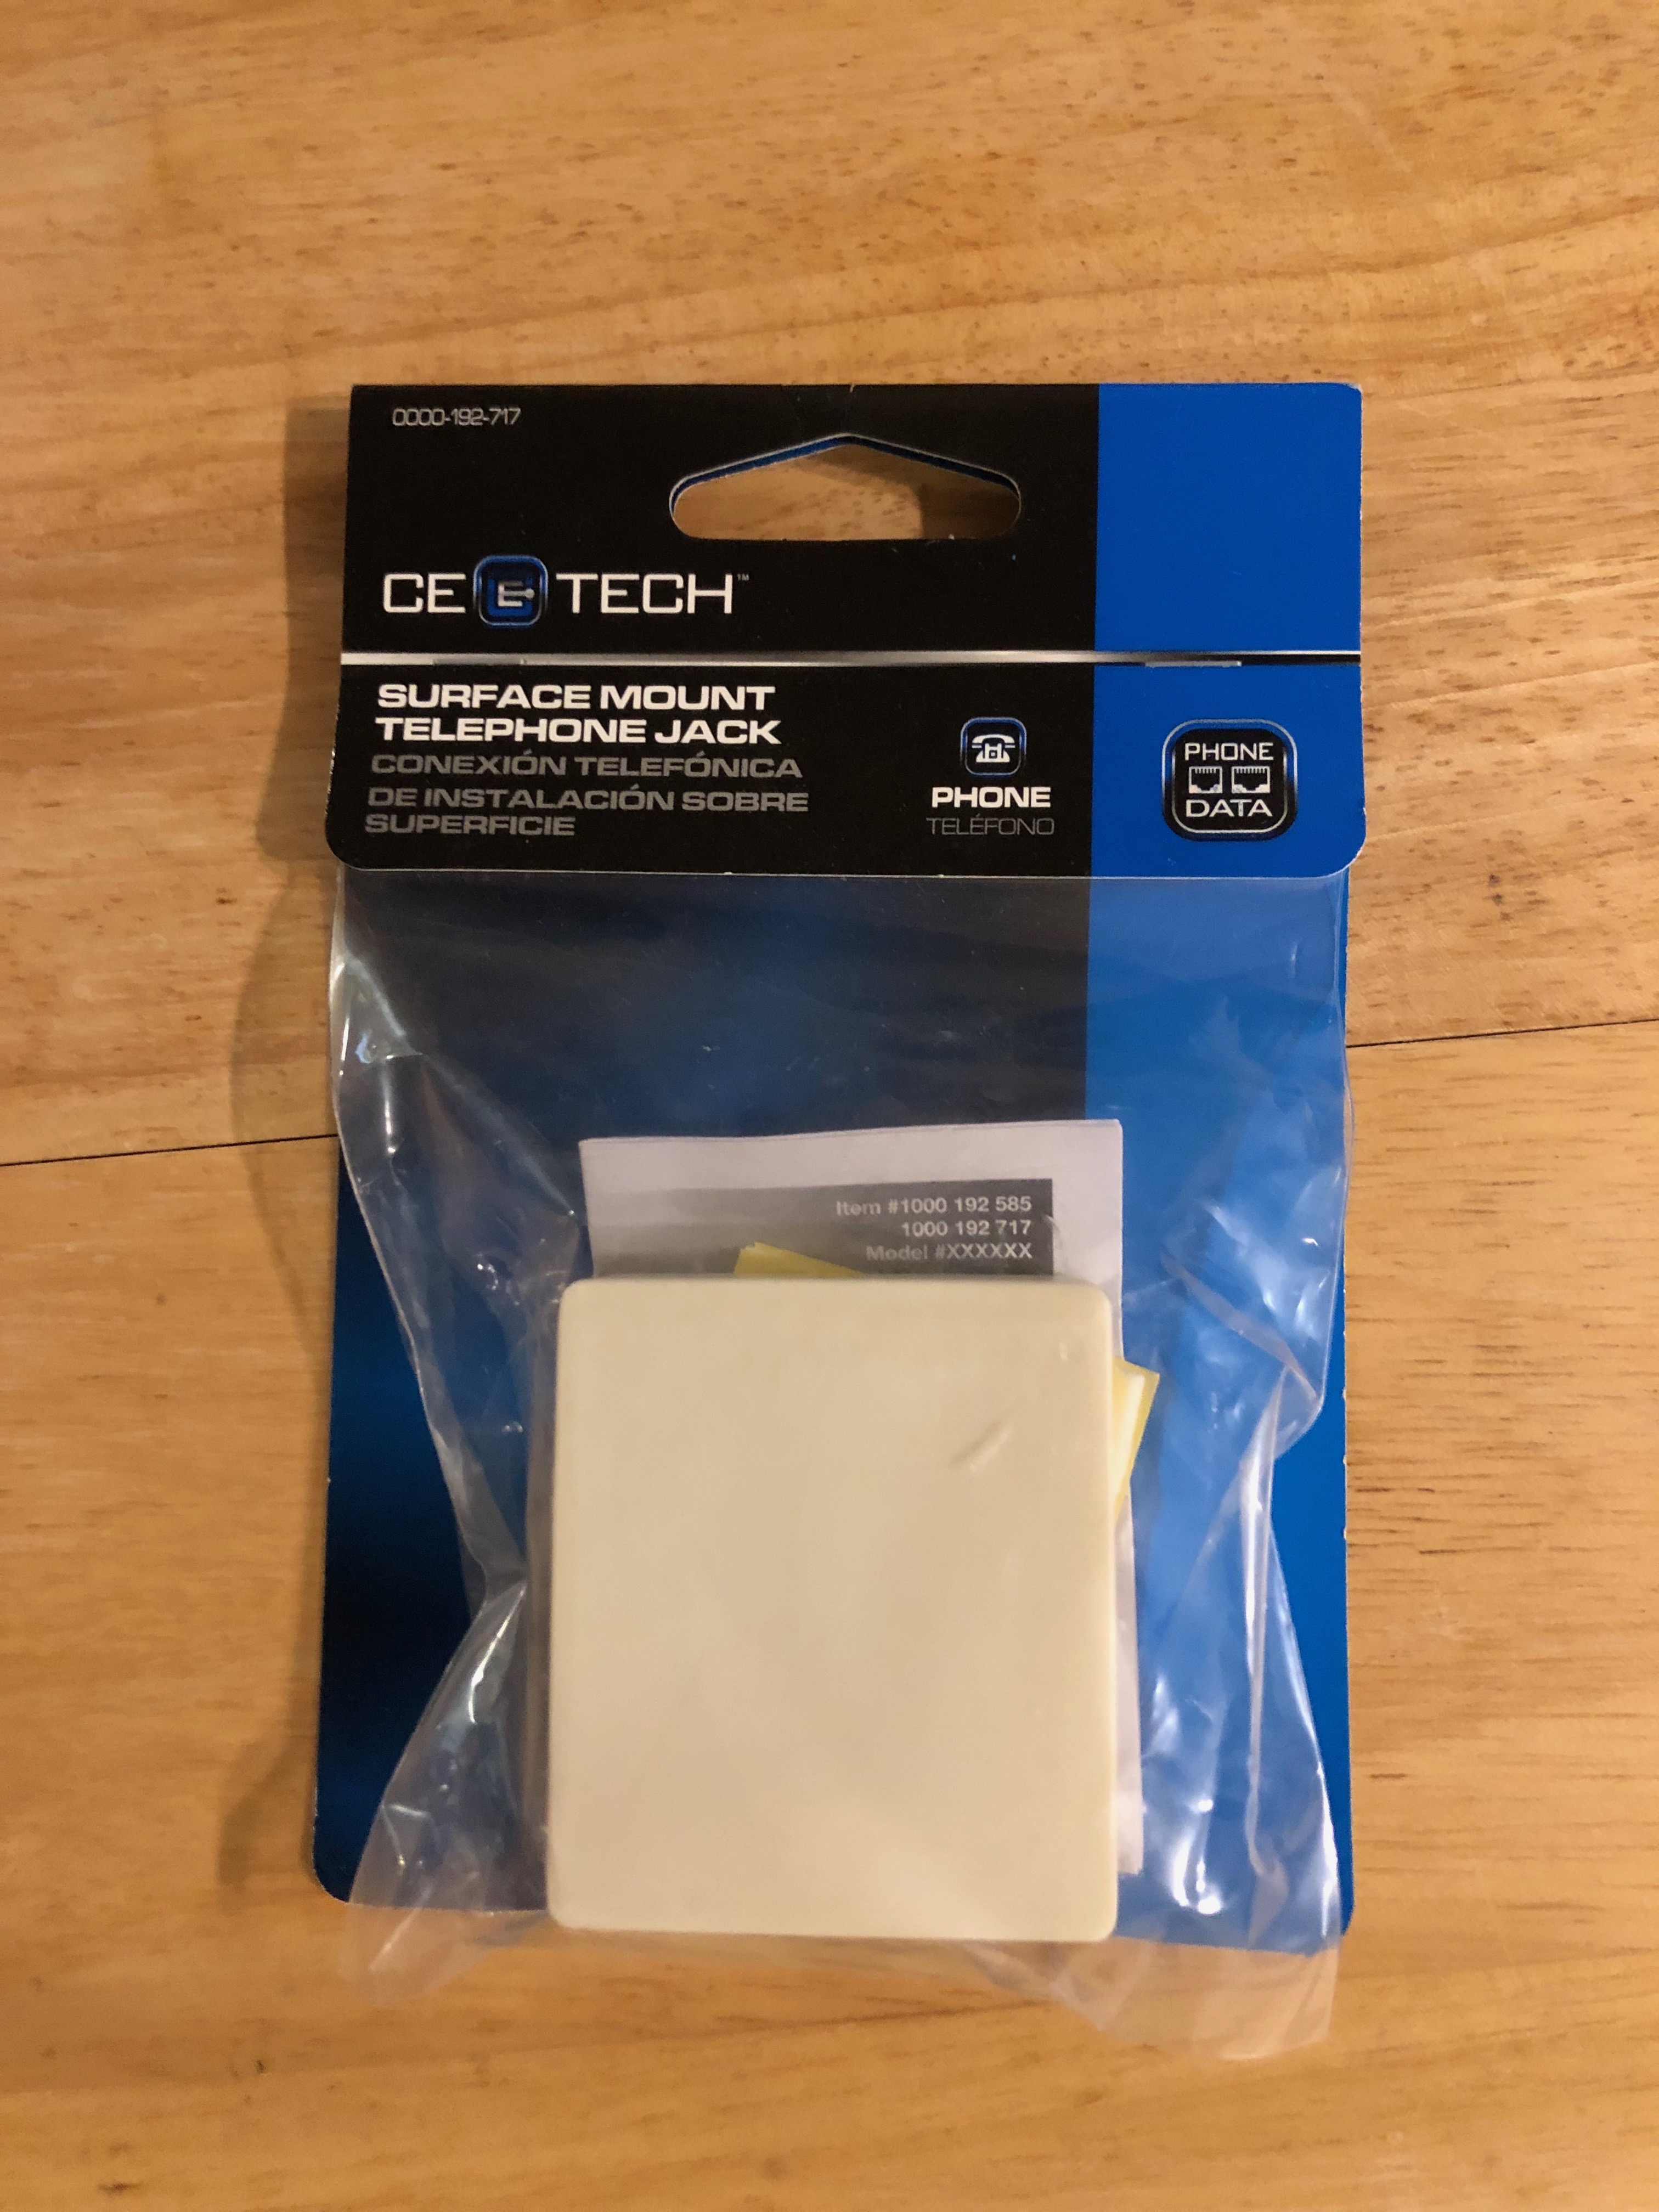
The surface mount is wired the same as a wall plate.
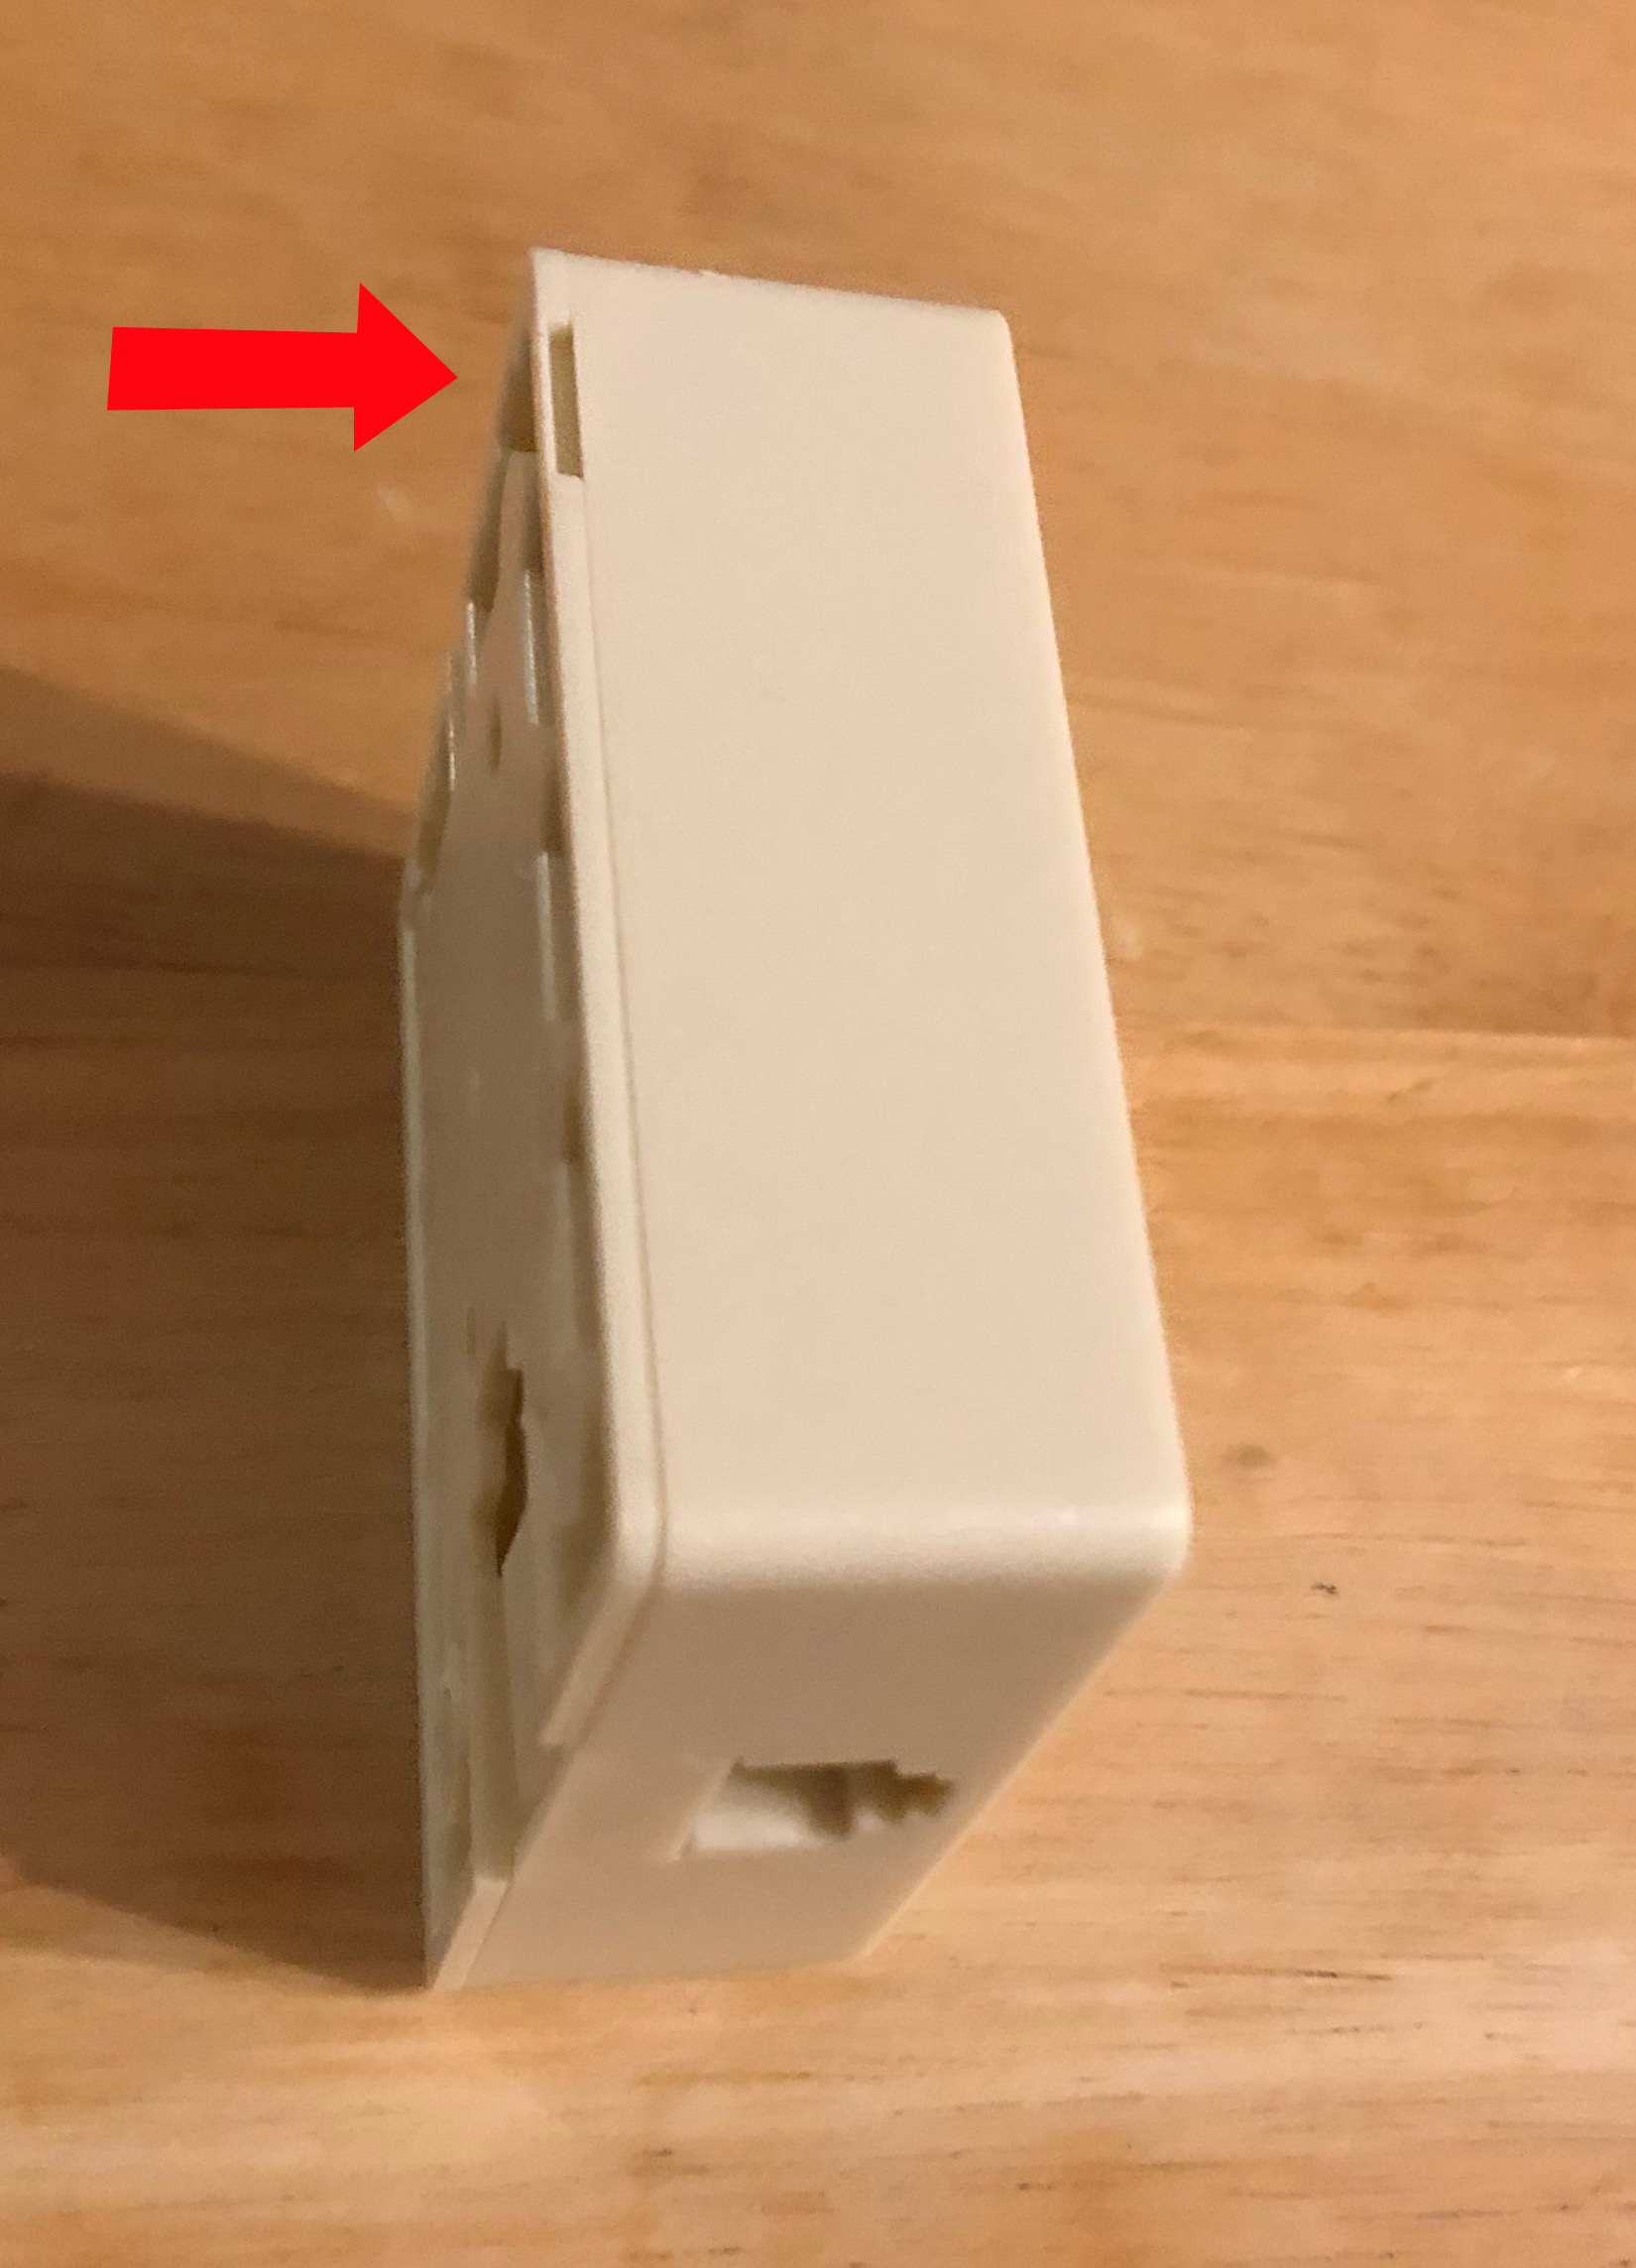
To open it, find the pry slot in the side. Insert a screwdriver into the slot and the jack will open. You can see the slot in the image below, on the upper right corner of the surface box.
Pry it open and the inside will look like this:
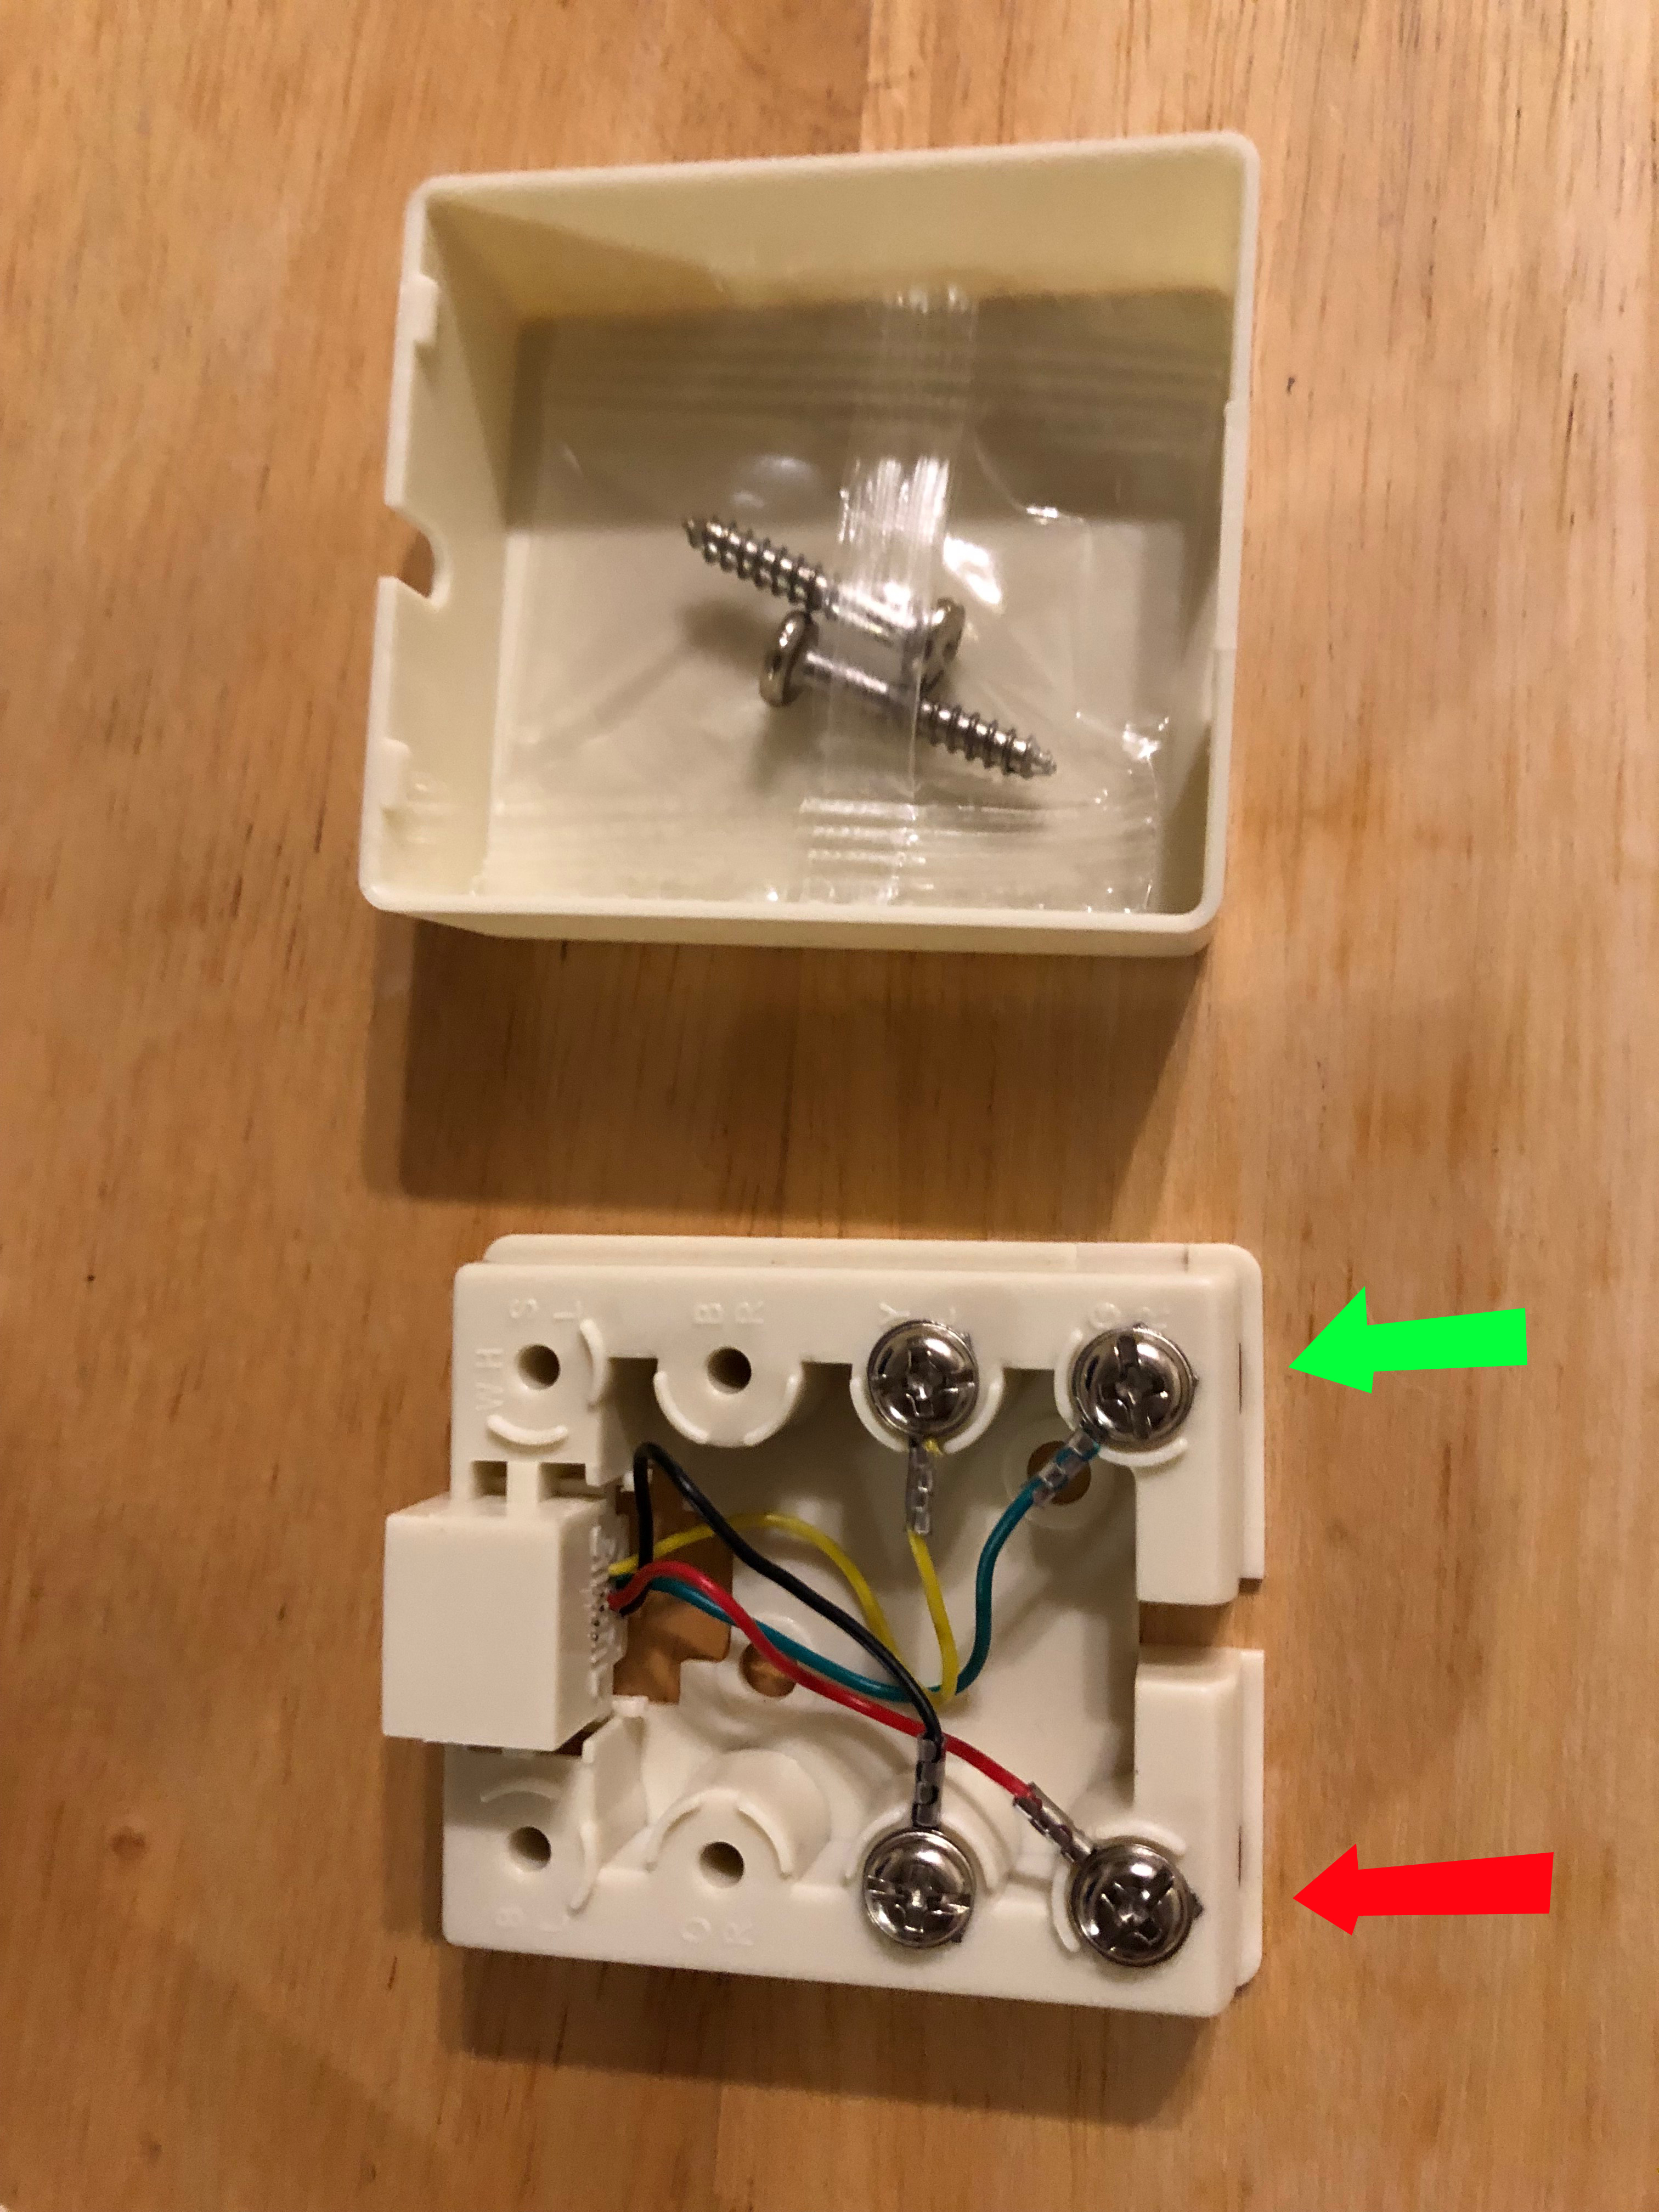
My surface mount jack came with two screws that are used to attach the box to the wall. Also it came with a small piece of double sided tape which you can use to tape the jack in place.
You can see that the color coding is the same as the wall plate. The active wires are the middle ones, which are color coded red and green.
I'm going to connect this jack with some Cat 5 wire, which has 8 strands. There are lots of kinds of wires, and color coding can be pretty haphazard, especially in older buildings. My live telephone signal is on the blue and white twisted pair of wires in my Cat 5. If you are connecting to some old house wiring the colors can be most anything, so you have to know which are the live wires.
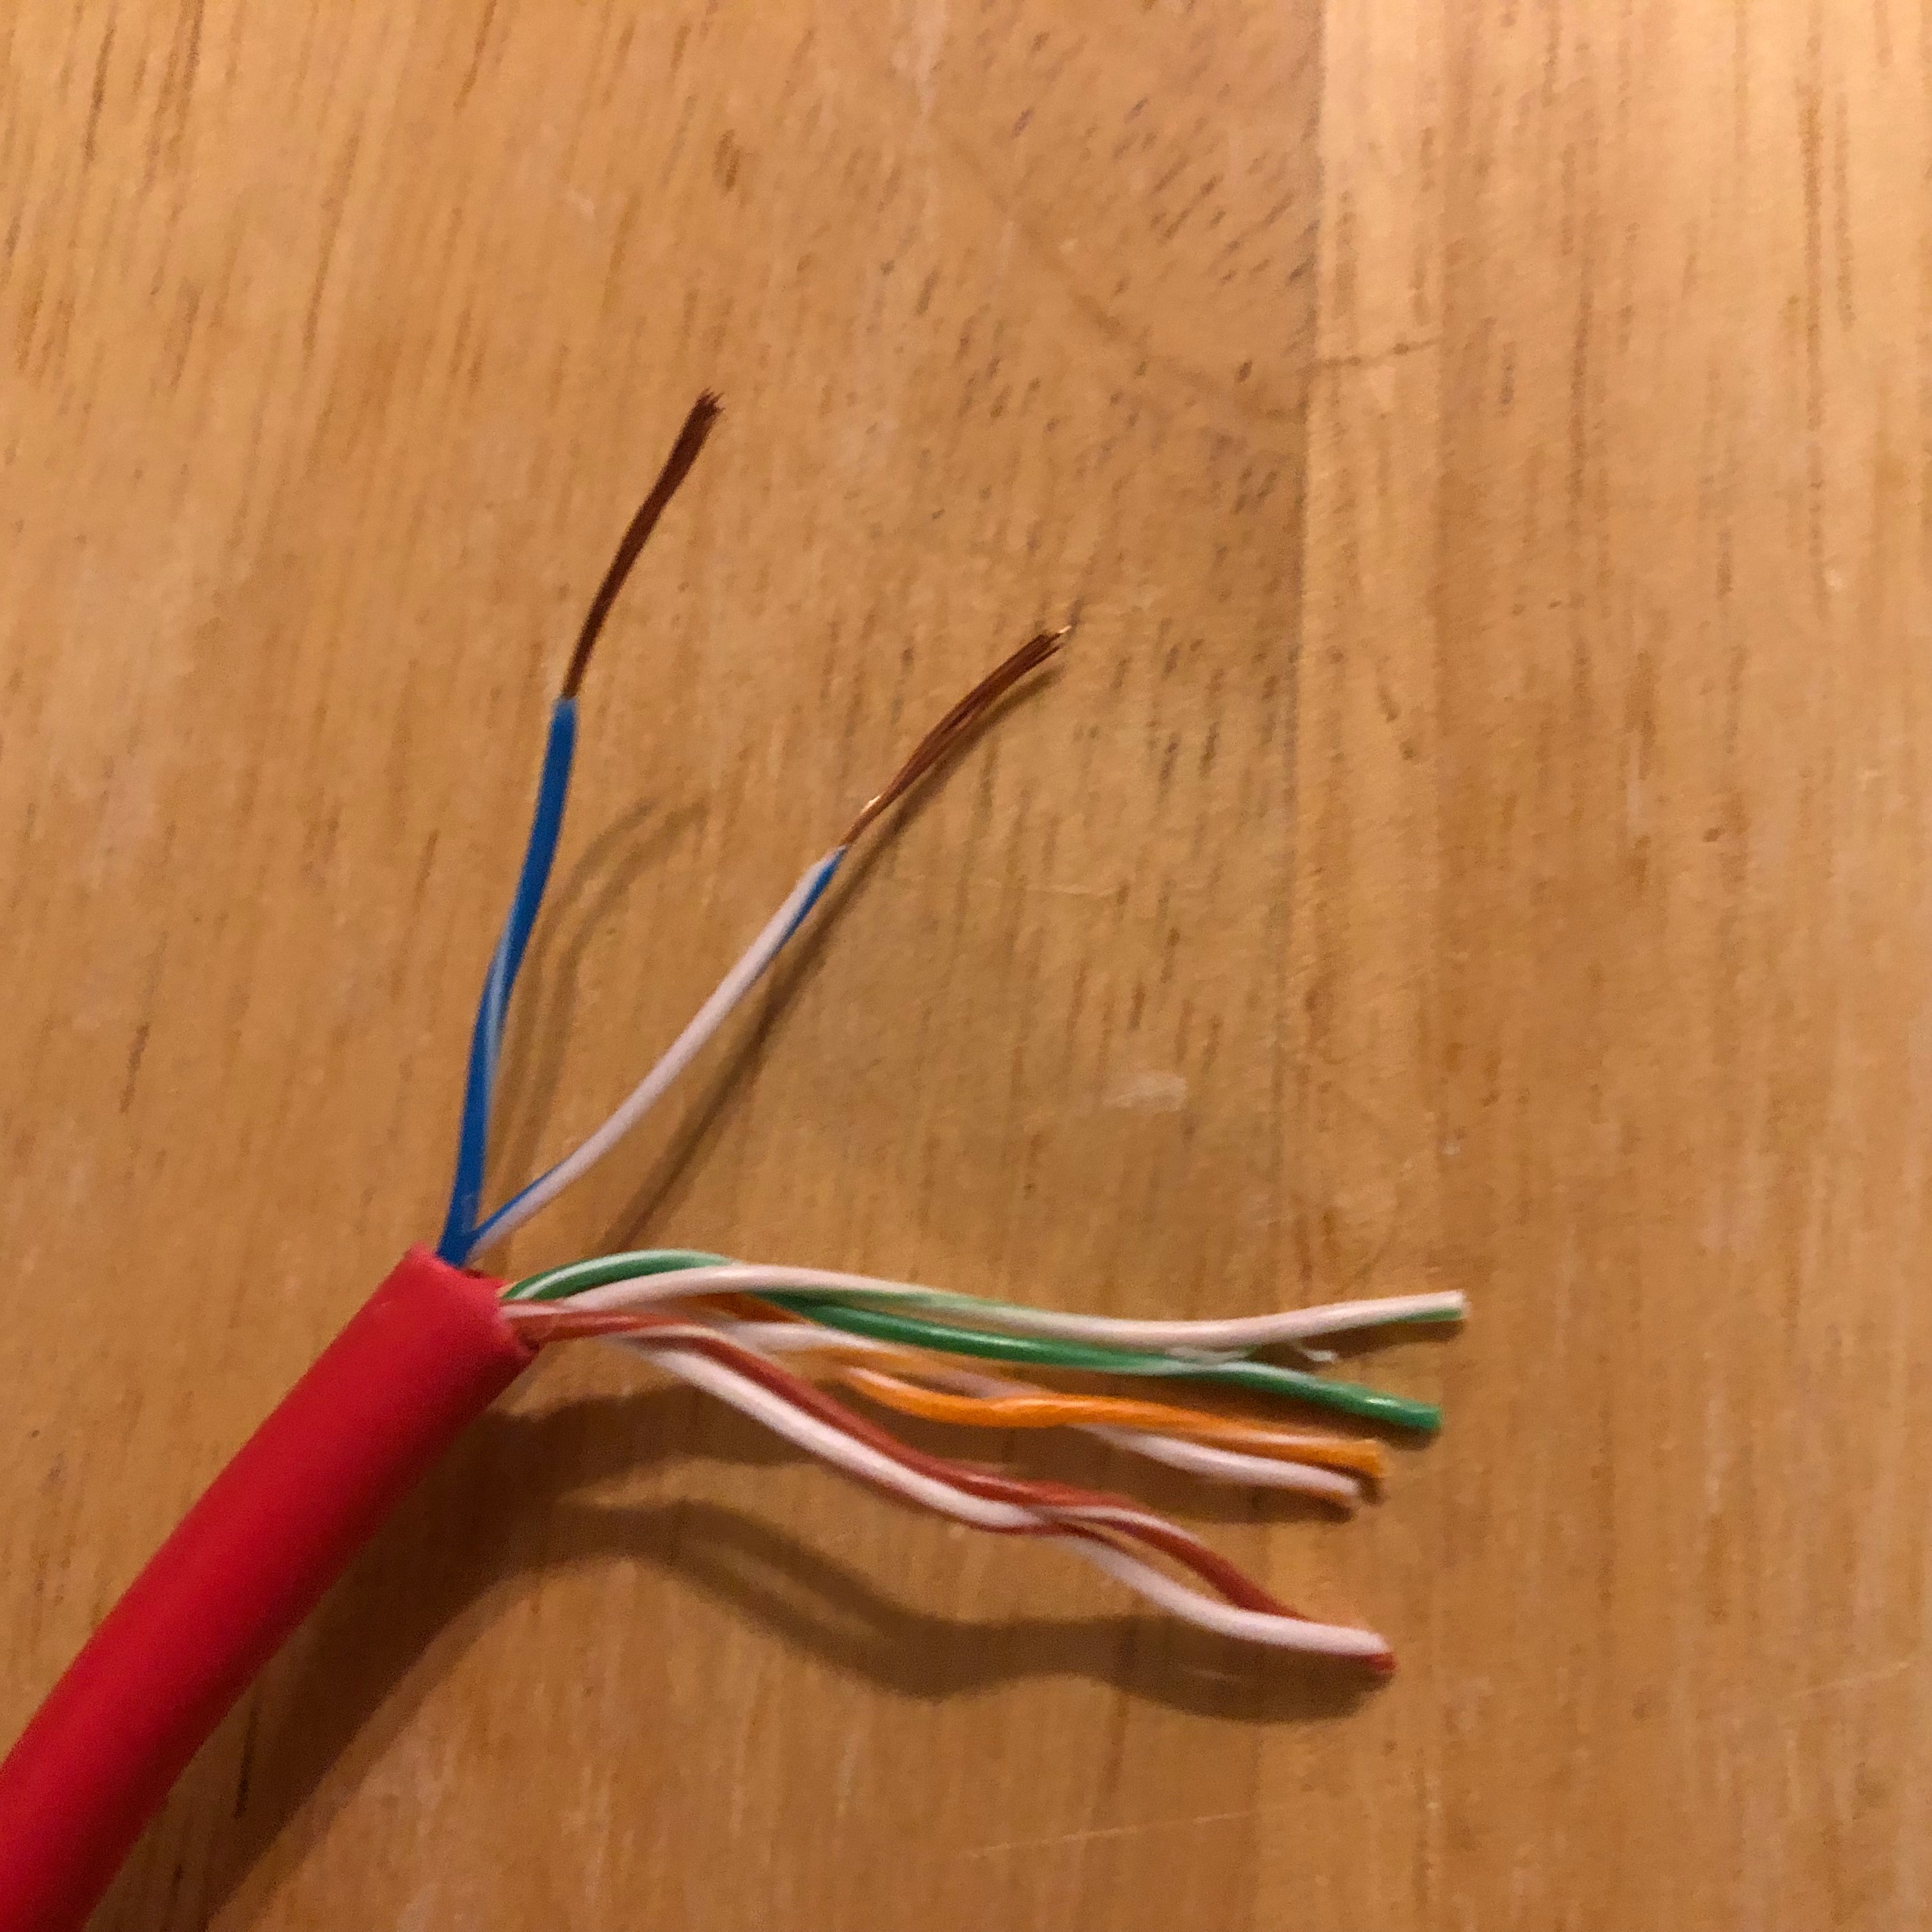
In the photo above I have stripped a little bit of the blue and white wires.
Now let's attach to the red and green wires on the surface jack.
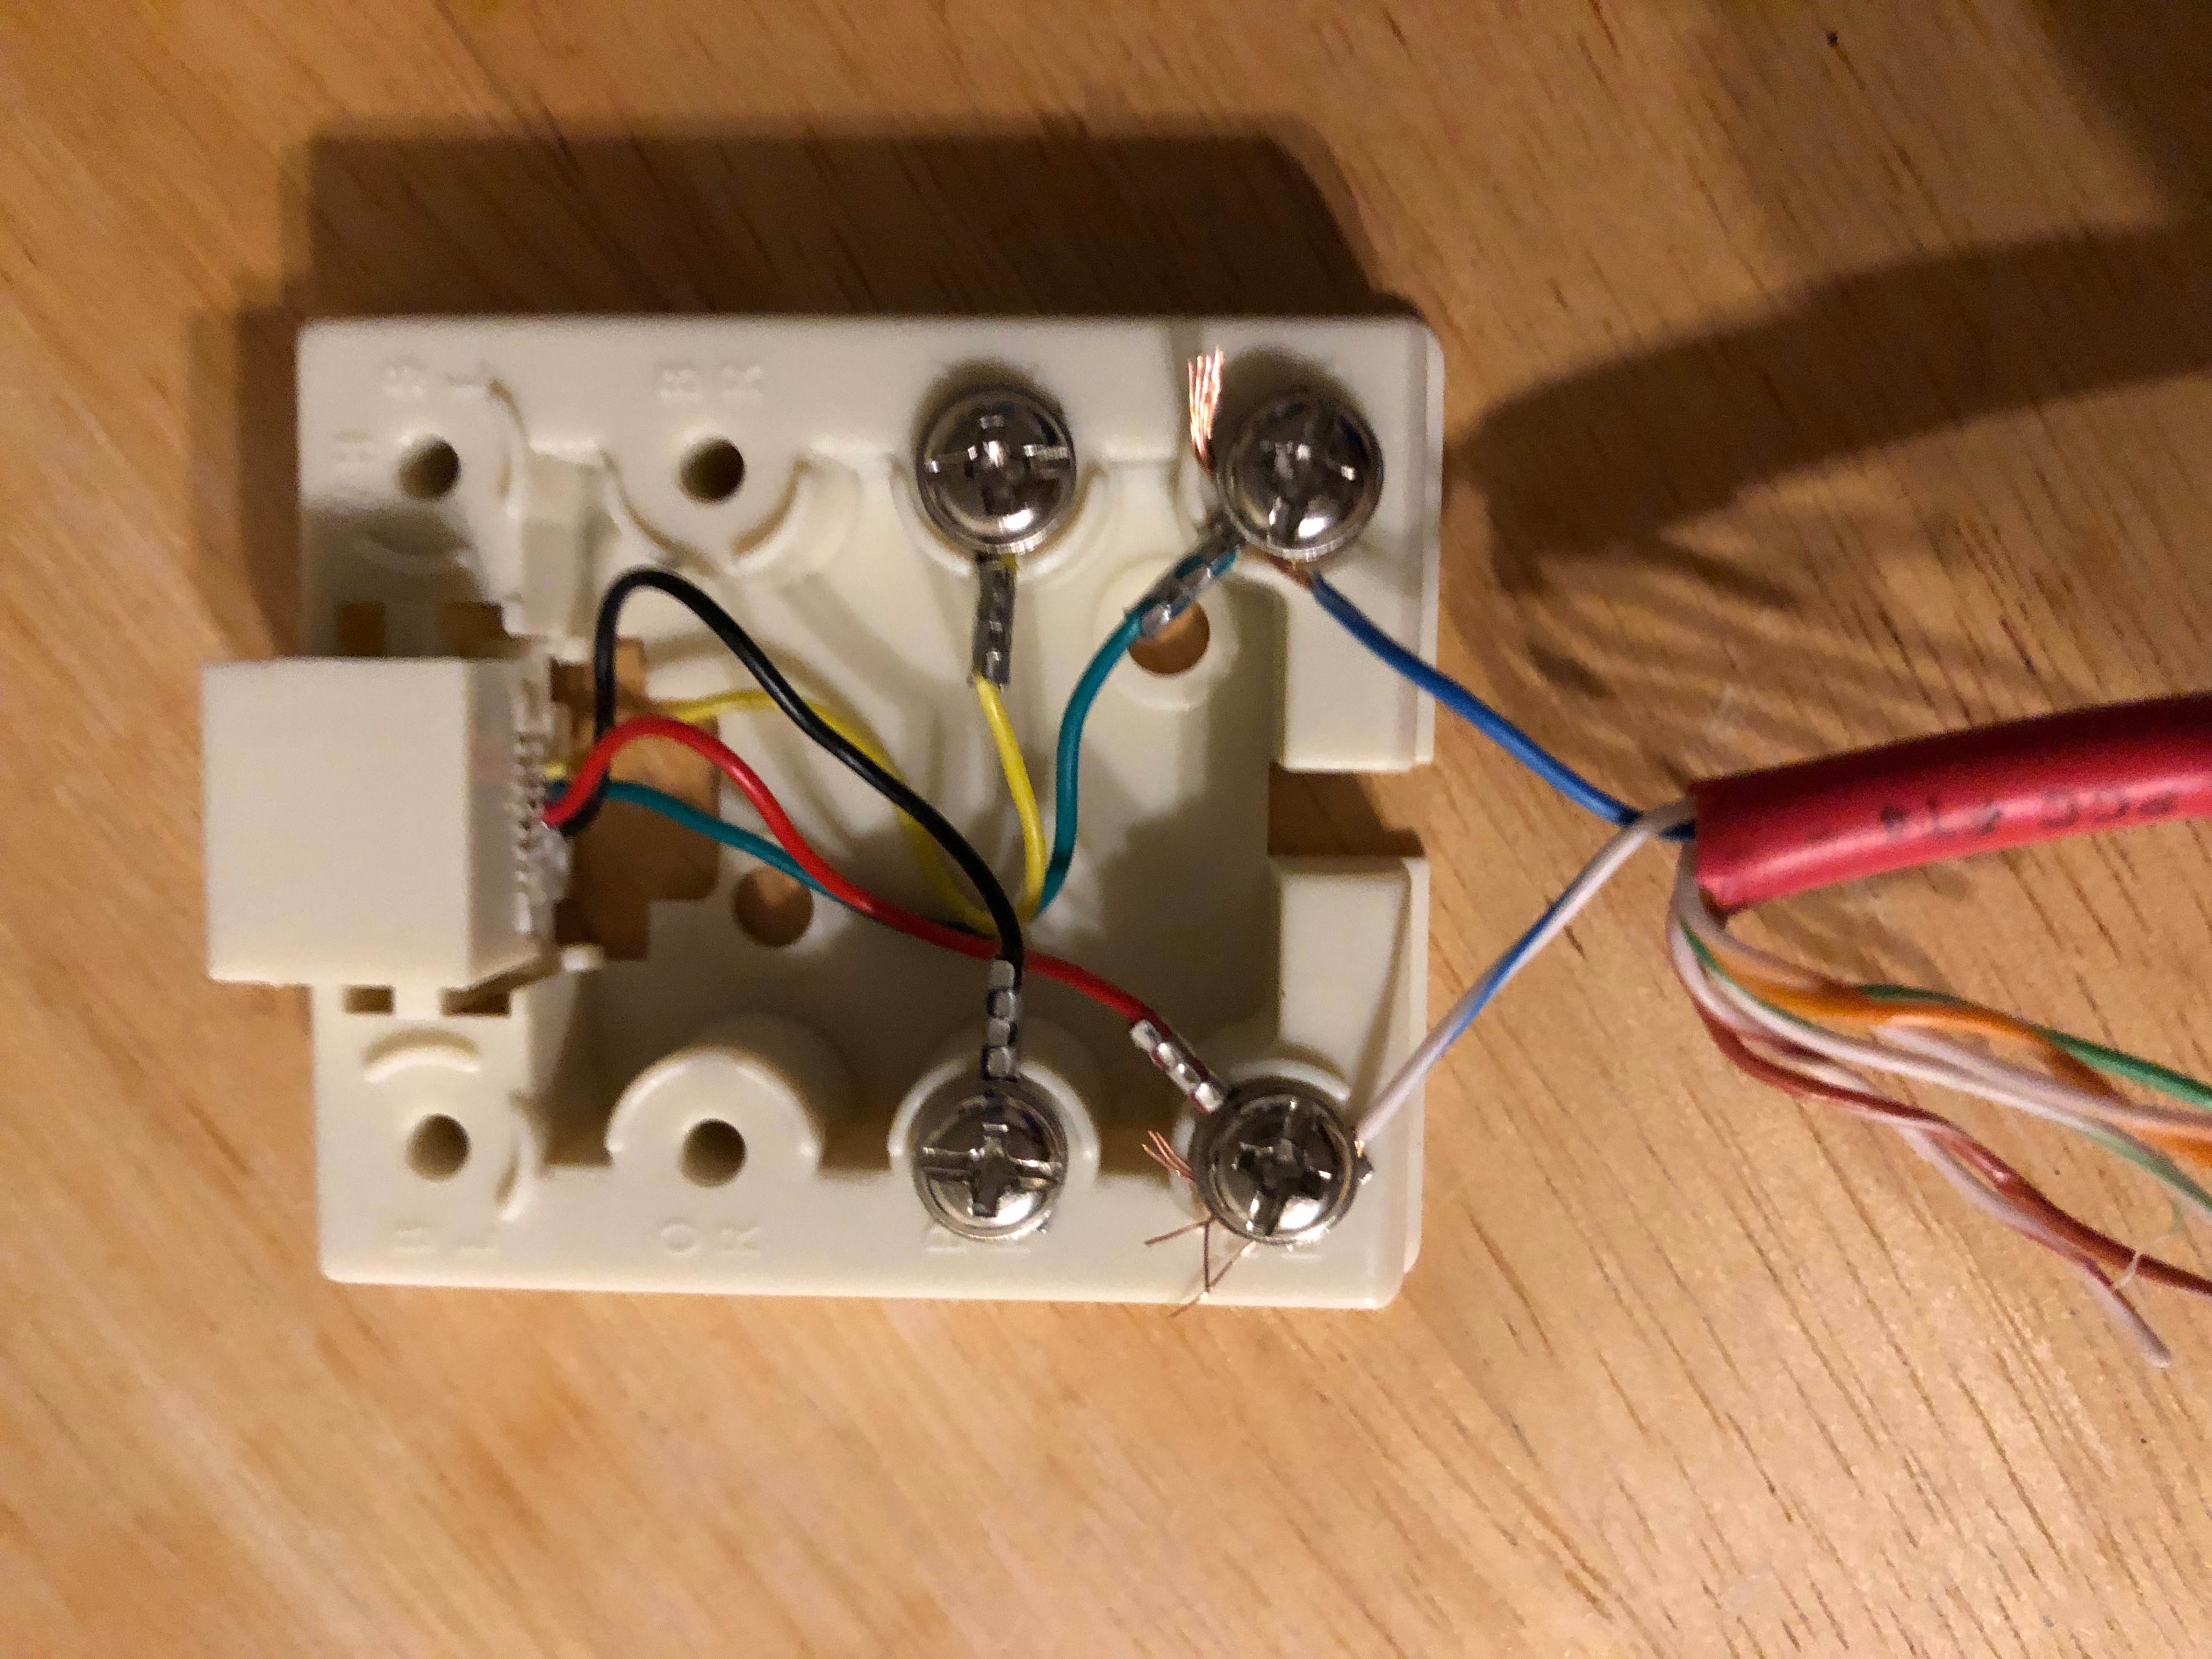
In the photo above I have used the screws to attach my blue and white telephone wires.
Wires will string through the back, if you are attaching to some house wiring coming from inside the wall.
Wires will string through the opening in the bottom, if you are connecting to a longer wire that snakes along the wall.
In this case I have strung the line through the bottom of the jack.
That's all there is to it.
The only trick is to make sure you connect to the right wires in your Cat 5 cable. You absolutely need to know which wires are live for any of this to work.
Don't forget to test your work. If you are testing a phone line, plug in a telephone and make a call. If you are hooking up DSL, then connect a modem to see if you have the line working. The DSL light (ready light on some brands) should be solid green, not blinking.
