


Configuring the Westell 2200 for PPPOE
These instructions will show you how to configure the Westell 2200 to use PPPOE.
Many people prefer to set it up as a plain modem and turn the routing off. We have separate instructions on that subject.
In this instruction sheet, before you start, you need to connect to the modem/router with your web browser.
Basically you have to set your ethernet port to dhcp, reset dhcp and get and address, then bring up the address 192.168.1.1 in the browser.
Please note on passwords: The 2200 may ask you to change your password and may refuse to do anything until you do. If so we recommend you change it to admin/admin. Then it will be easy to remember and will match these instructions. The default username and password are admin/password.
OK let's get started.
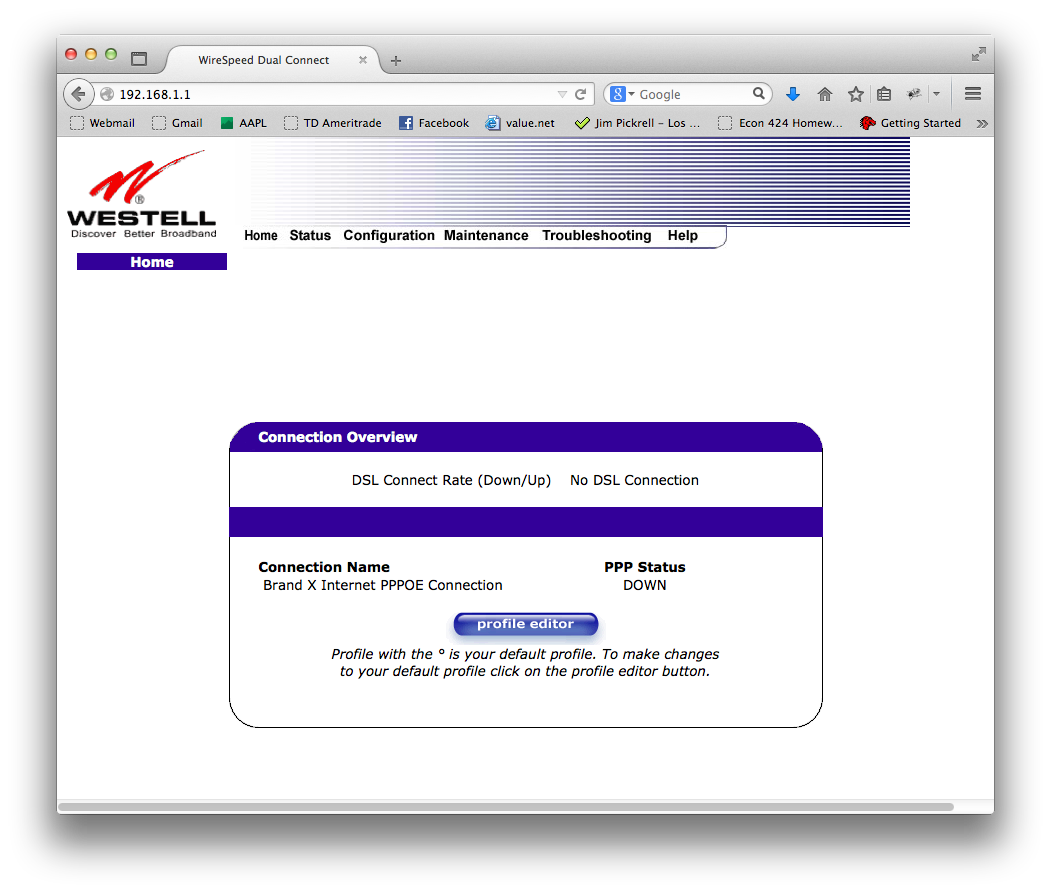
I have a 2200 unit in front of me that was already in use. After I logged in I saw the screen below.
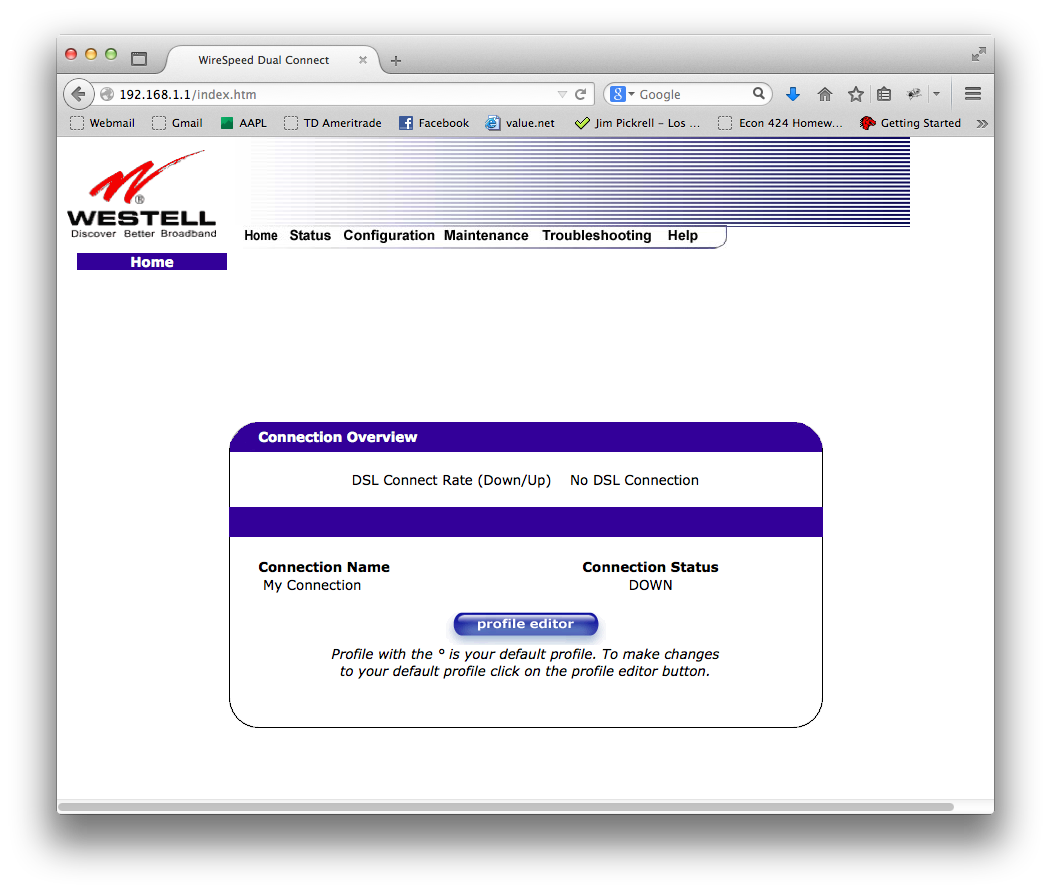
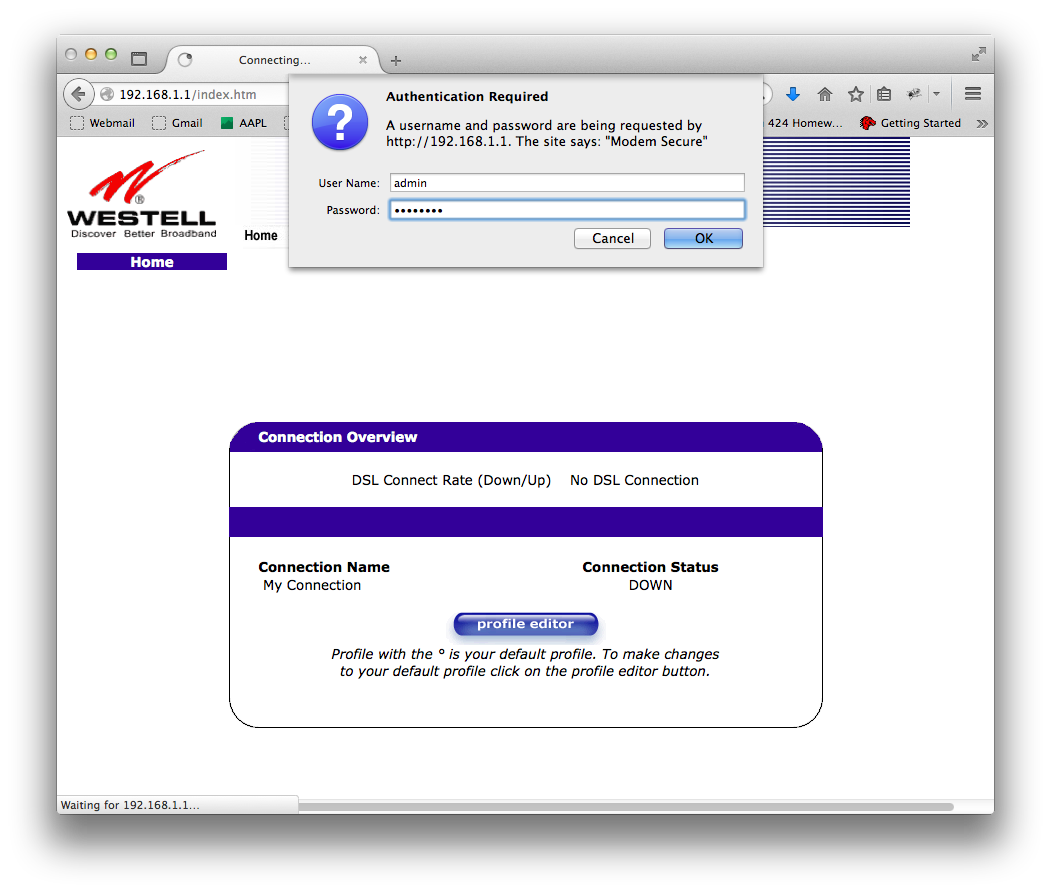
I hit profile editor and it asks me for the password. I put in admin/password
Then it observed (correctly) that I didn't have a DSL line attached. I'm just doing documentation. Why do I need to have DSL? Well, ok. 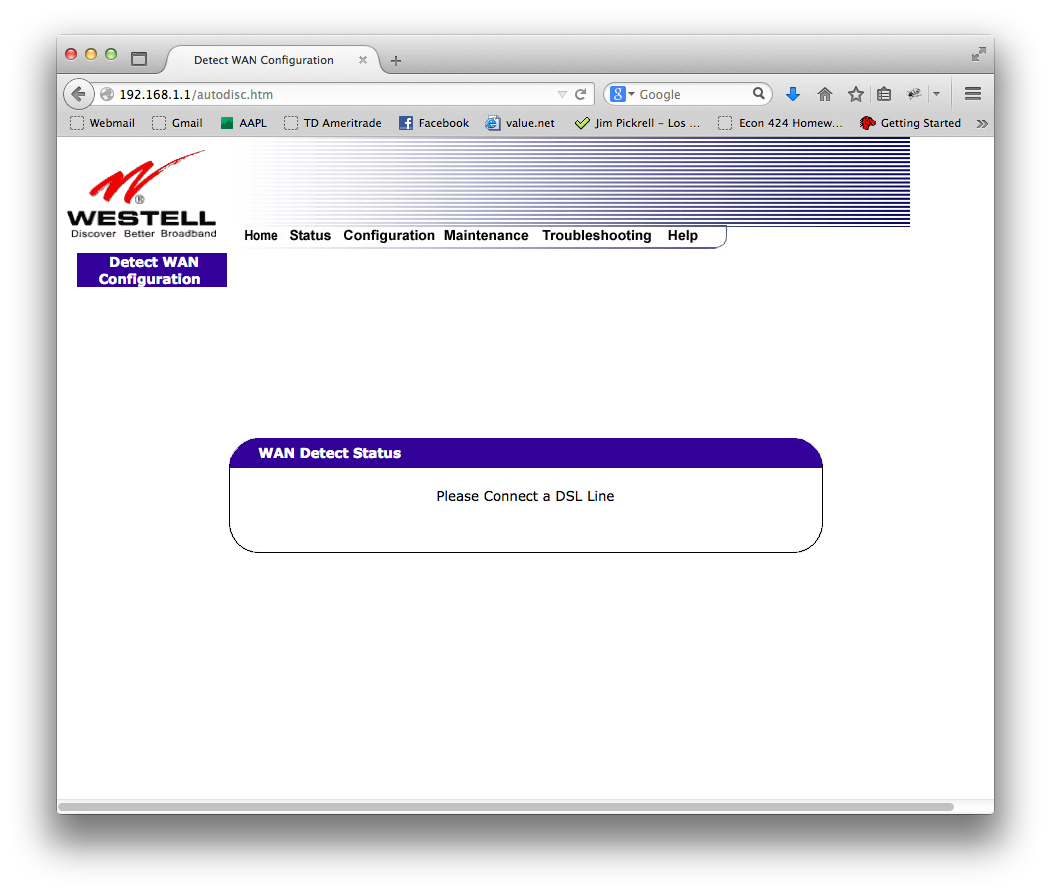
Probably the easiest thing to do here is to totally reset the router. There is a reset button on the front. Hold it down about twenty seconds. This will reset everything to factory defaults. You don't need to turn the modem off, at last not on this model. The lights on the modem will blink a few times and then it will take about a minute to restart.
When it does you should be able to connect via the web browser.
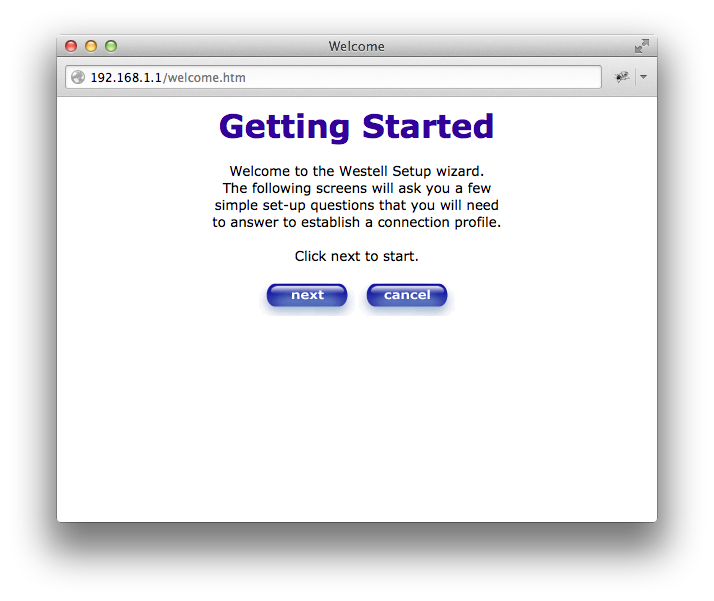
I click "Next".

Now it asks me for a username and password. The defaults are admin/password. If I change it I will make it admin/admin.
Here's where I put in the PPPOE information. The connection name doesn't matter. The "Account ID" and "Account Password" are the PPPOE uername and password you received from Brand X Internet.
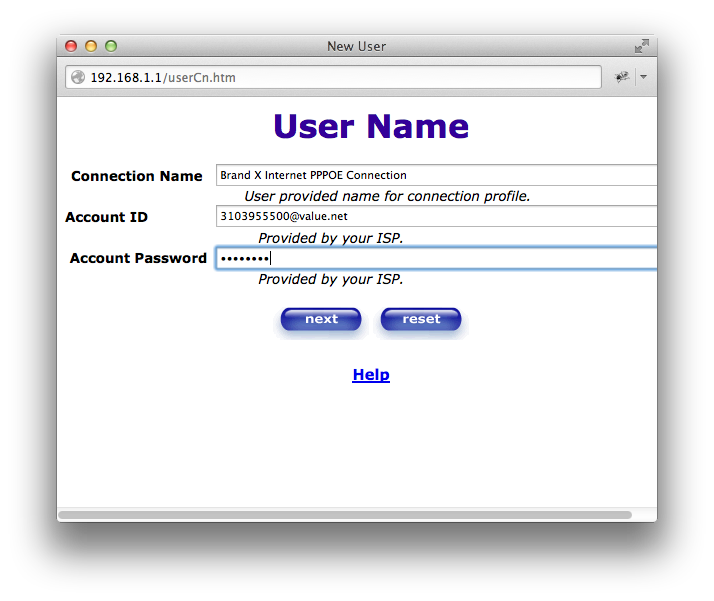
This is about all you need to do to set this up. By resetting the unit to factory defaults, everything has been set up already for PPPOE, all it needed were the username and password.
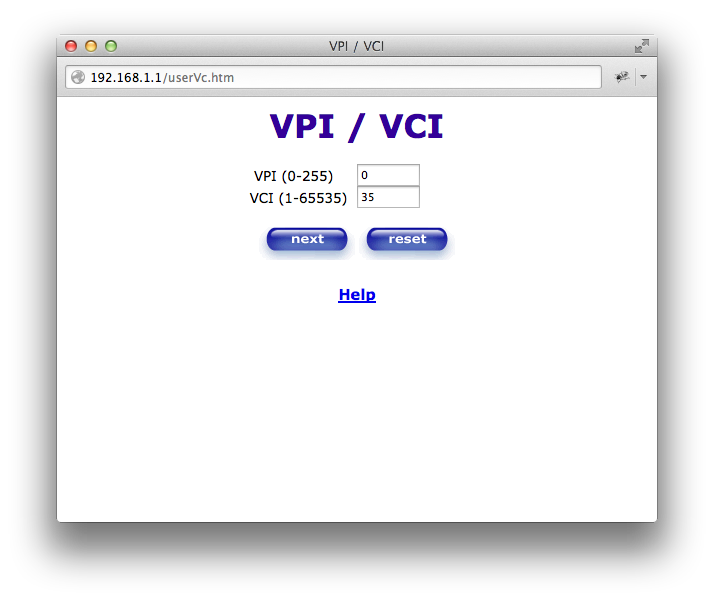
On the next screen it asks for VPI/VCI. Leave these with the defaults.
Next it asks about protocol. This is PPPOE. Note that if you were disabling the routing capability you would probably set this to "Bridged."
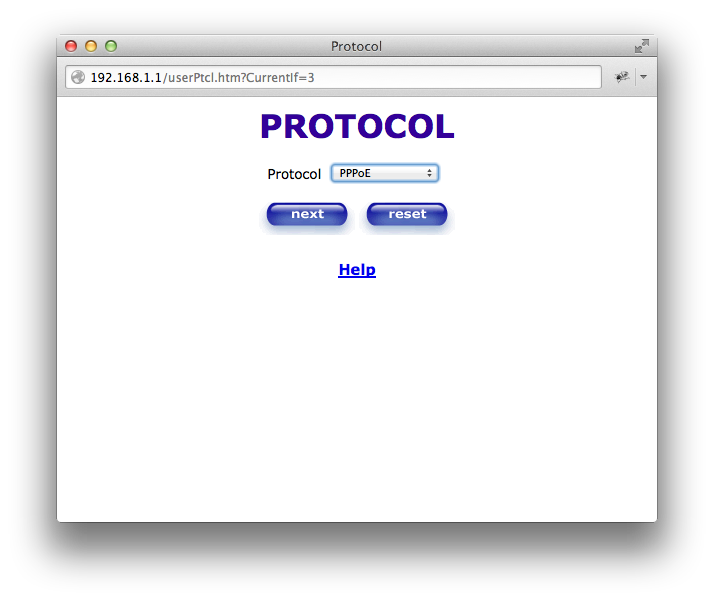
So this is fine. Click "Next." This takes us to the "Set-Up Complete" screen.

That's all. Save and reset and you should be online.
If you have problems:
First, double check that the "Ready" light is solid and that you have a good DSL connection.
Then, double check all cables.
Then, double check the username and password. You can edit these from the "Profile Editor" (see screen below).
If nothing else works, email us at support@brandx.net or give us a call and we will try to help.