


Setting up DSL on Windows XP
These instructions will apply for static, DHCP or PPPOE connections.
If you have a modem, set that up first. There are separate instructions for that subject. We are assuming here that you have already installed the modem and have a solid green "ready" light on your modem
Router
If you are setting up a router, find the instructions for that router and set it up. Then set up your computer with dhcp following the instructions below.
There are sections below for PPPOE, DHCP and Static connections. Find your connection type and follow the instructions.
DHCP Connection
(This section is for DHCP subscribers only. If you have static or pppoe, instructions are further down on this page.)
Find the Network Settings
Open up the Control Panel by clicking Start - Control Panel.
"Local Area Connection" is what Windows calls your ethernet port.
That's how we want to connect.
Open up Network Connections and find the "Local Area Network".
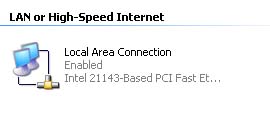
Double click on the Local Area Connection icon. Lets set it up.
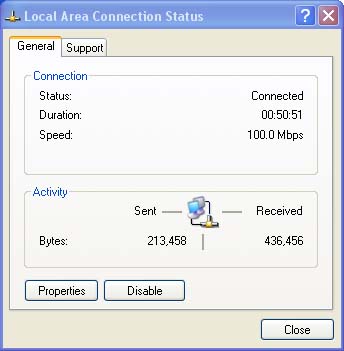
You will find yourself in the Network Connection.

Highlight Internet Protocol (TCP/IP) and click Properties.
If you are a DHCP subscriber, then go to that section below
If you are a static subscriber, that section is further down.
DHCP setup is super easy. Just follow the diagram below:
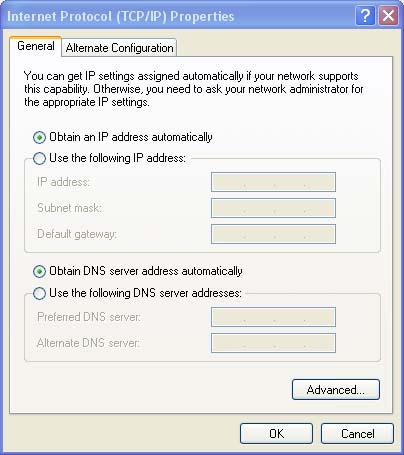
Make sure the options to Obtain an IP address automatically and Obtain DNS server address automatically are chosen.
Click OK and
Close. Done. You are now ready to start surfing the web.
Static Addresses
The setup here is similar to the setup for DHCP, but when you get to the Internet Connection Protocol (TCP/IP) properties, we will want to put in all the values by hand.
Make the setup look like the picture below, but use the settings you were given by Brand X Internet..
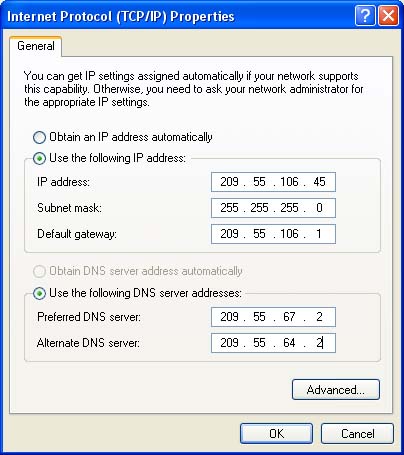
Select the Use the following IP address option.
Enter the IP address, Subnet mask and Default gateway you were given by Brand x Internet.
Select the Use the following DNS server addresses option.
We currently recommend using Google DNS which is 8.8.8.8 and 8.8.4.4.
Click OK and Close and save your changes.
You are now ready to start surfing the web.
PPPOE Connection
A PPPOE connection has a username and a password, which you will get from tech support at Brand X Internet.
To create a PPPoE client connection, follow these steps:
Click Start, click Control Panel, and then double-click Network and Internet Connections. It should look something like this:
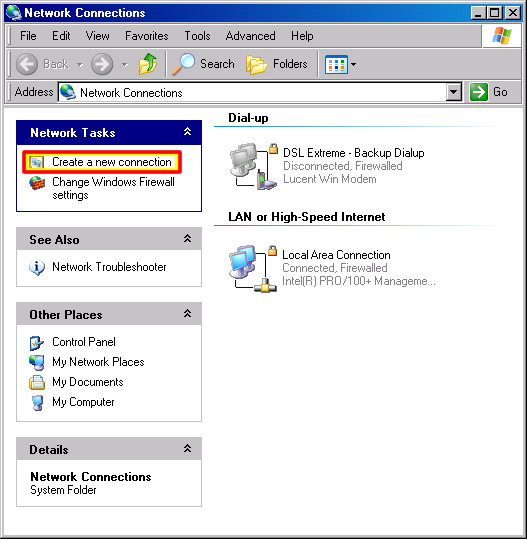
Click Network Connections, and then click Create a new connection in the Network Tasks pane. (See above picture.)
After the Network Connection Wizard starts, click Next. Click Connect to the Internet, and then click Next.
Click Set up my connection manually, and then click Next.
Select "Connect using a broadband connection that requires a user name and password"
You have to give the connection a name. I will call mine "Brand X DSL".
Now we have to enter the username and password.
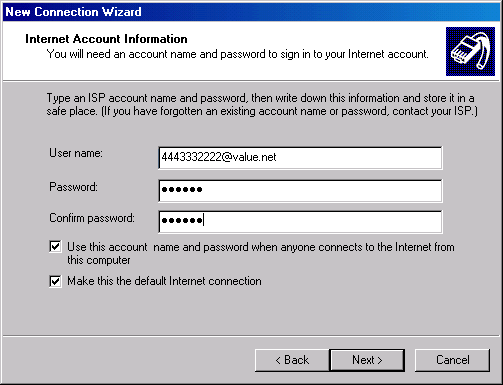
Your username and password should look somewhat similar.
The computer will probably ask you if you want to "Click Add a shortcut to this connection to my desktop." This is fine.
Click Finish to complete the wizard.
Your connection is set up and ready for use.