


Windows 10 Network Setup
In this document we will talk about how to connect a Windows 10 computer to a Network. We are assuming that your network is already on the internet and you just want to connect with wifi or with an ethernet cable.
I'm going to start with wifi, then I will connect an ethernet cable to the router and talk about how to configure that.
If you want to get on the internet, make sure your connection is working. Usually there is a router of some kind, usually with an Internet light that will be green or maybe blue if you are online. Make sure this is working before you try to hook up your computer.
Setting up Wifi
Setting up wifi usually means selecting a network and putting in the password. That's about all there is to it.
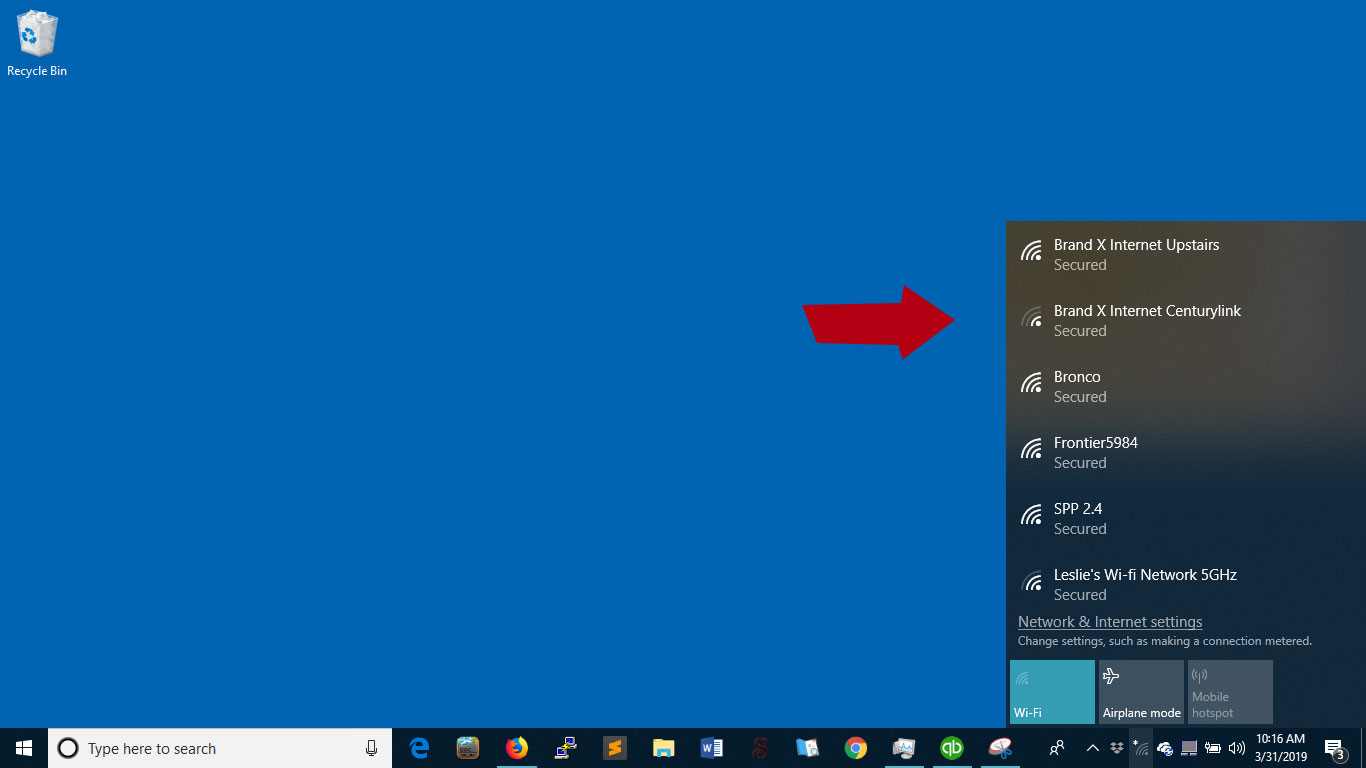
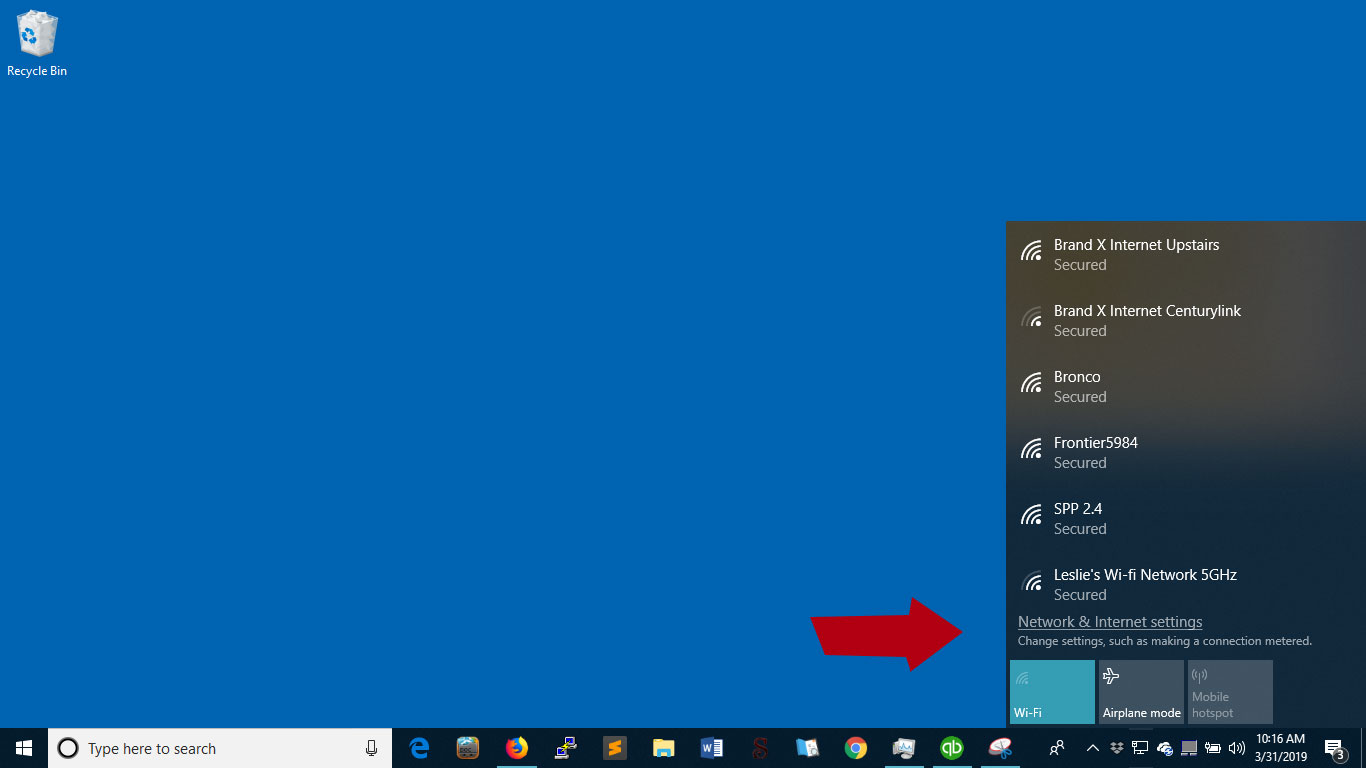
You can get a list of the available networks by clicking on the Wifi icon at the bottom of the screen. A list pops up. The number of bars by each one tells you how strong it is. I'm going to try to connect to one called "Brand X Internet Centurylink. It's not very strong because it's coming from downstairs, but it should work. Centurylink is a particular router that I have, which came from Centurylink, a telephone company in the Pacific Northwest.
I'm going to click on the "wifi bars" icon in the lower left of the screen to bring up a list of wifi networks that are available.
The icon looks like this:
![]()
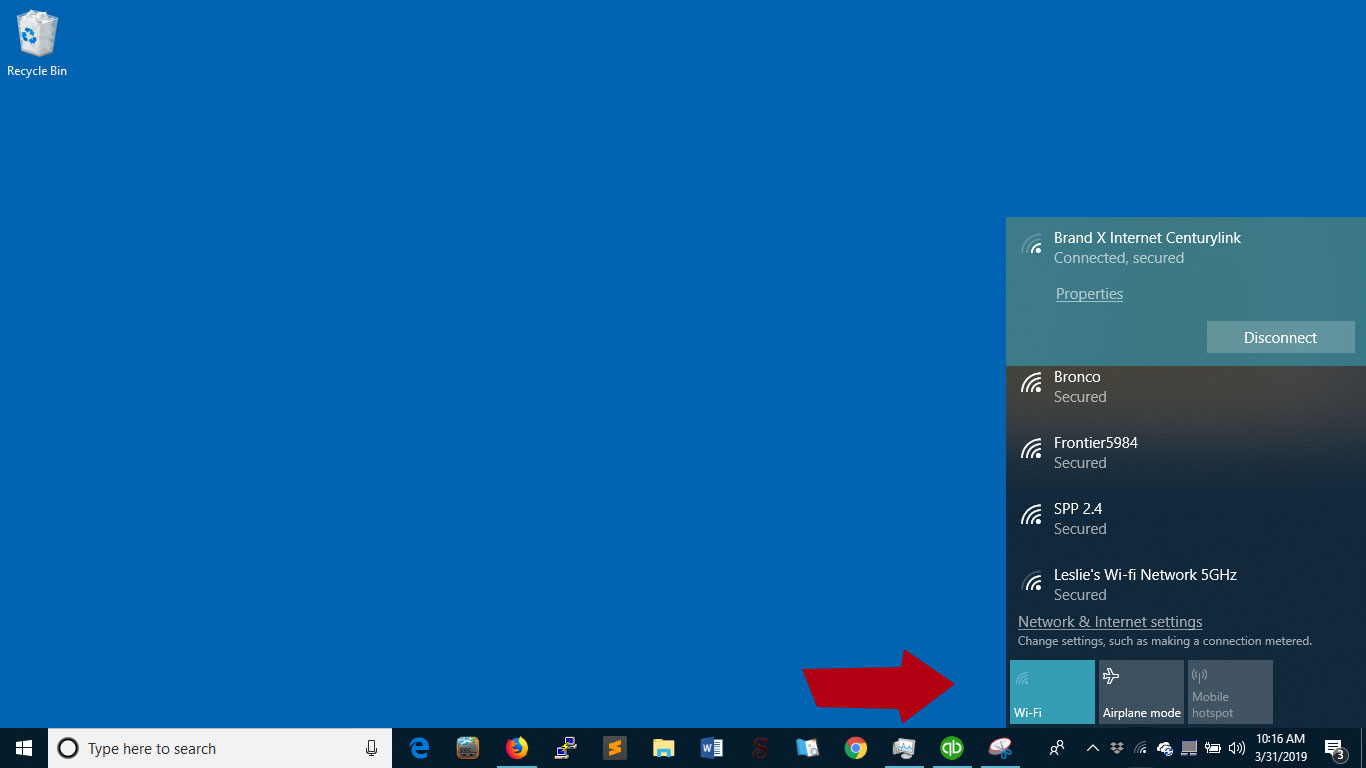
I'm going to select a wifi network by clicking on "Brand X Internet Centurylink". The name here is one that I myself set in the router. If you got your router from Brand X Internet, the SSID (Network Name) and wifi password will be on a sticker attached to the router.
When I click on the network name, Windows shows me the type of connection that is available. I will select "connect"..
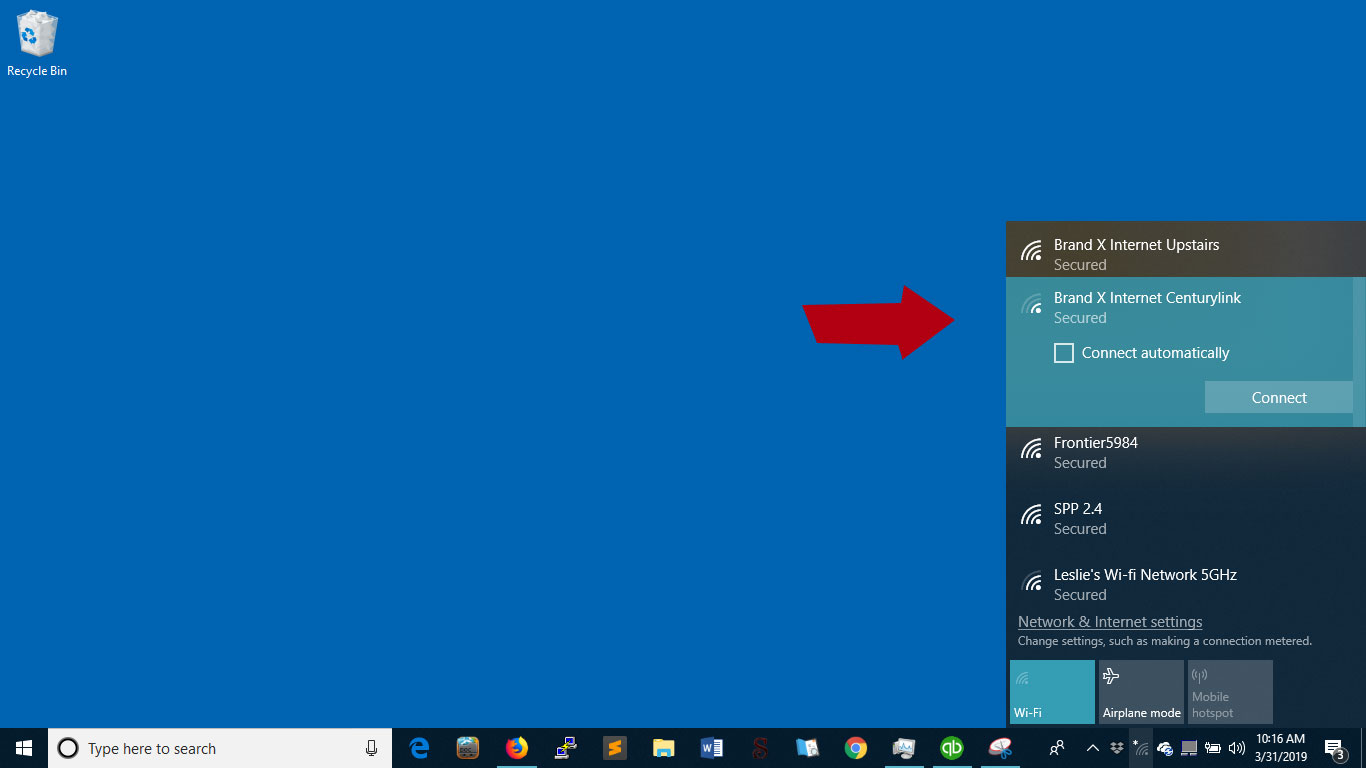
Windows asks me for the password. A moment later, Windows tells me that i am connected.
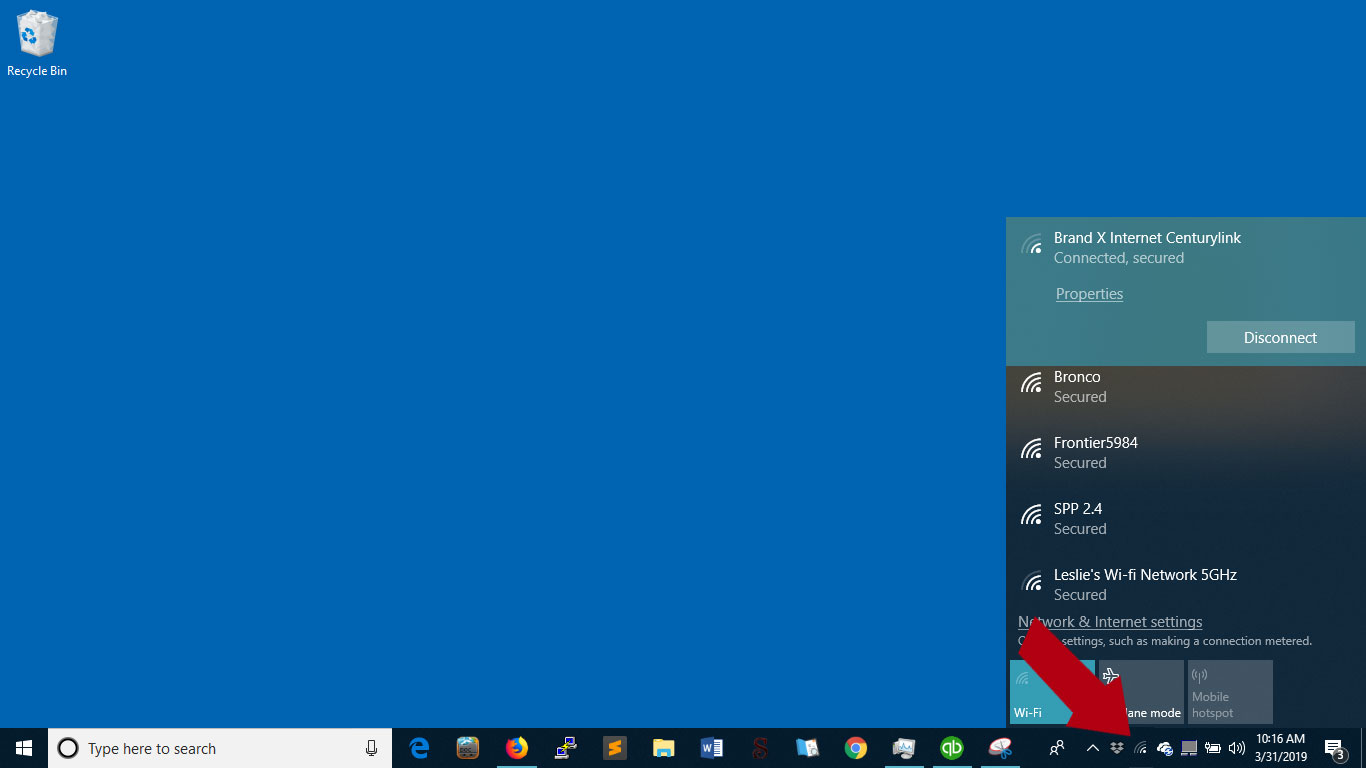
Note that the little icon with the wifi bars is now showing a different icon, which means we are online.
This looks like it's working, but you have to test it to make sure.
A good way to do this is to look at some websites or watch a video on Youtube.
We can turn the wifi off by clicking on the word "Wi-Fi".
Now wifi shows off.
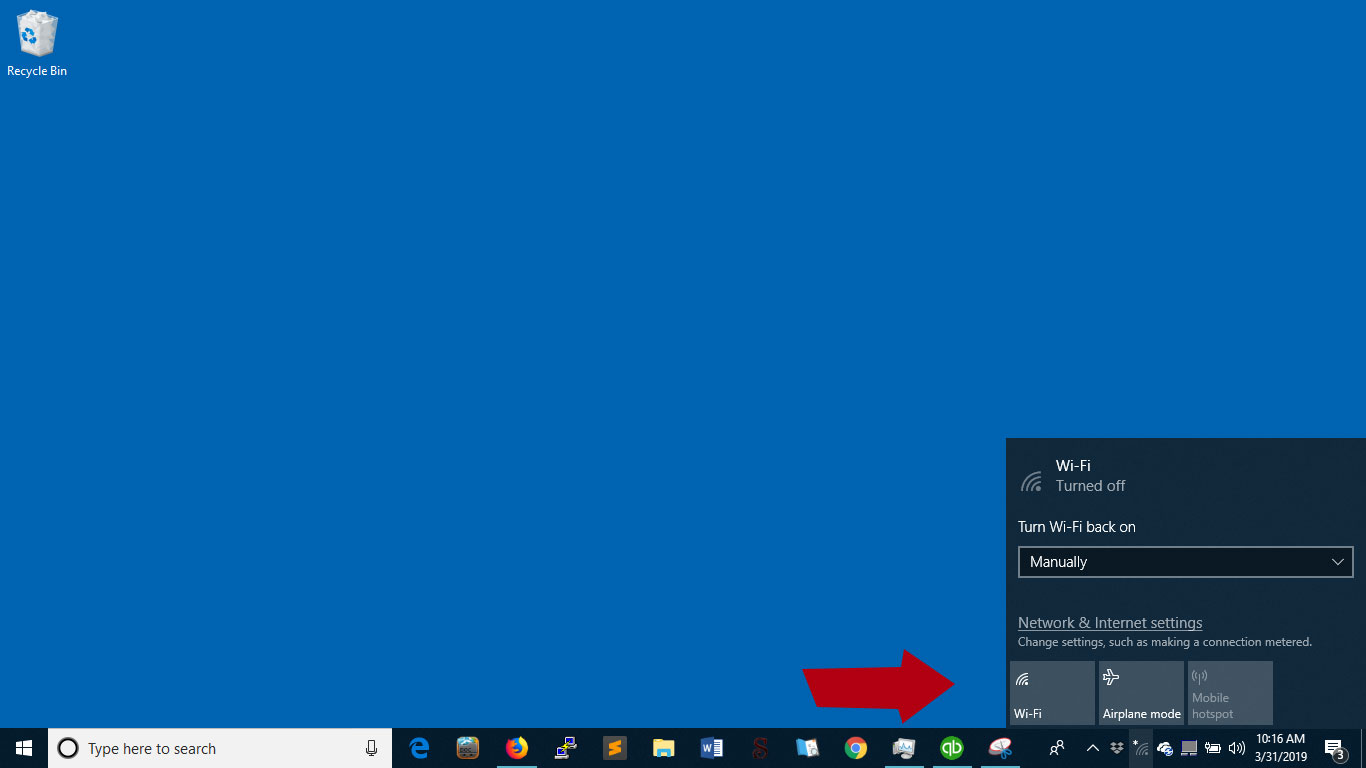
You can click this button again to turn Wifi back on.
Ethernet
We are going to try connecting with ethernet.
Plug in the cable from your router to the computer.
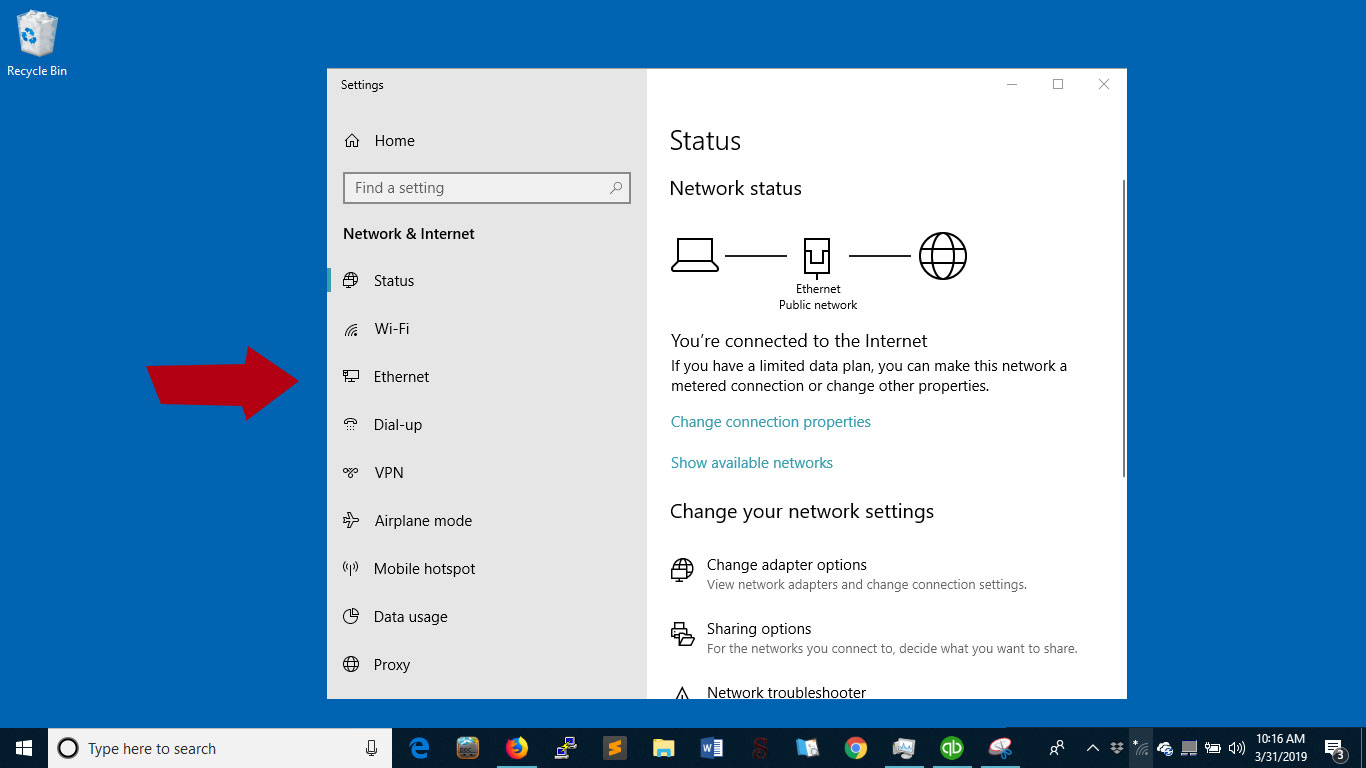
You should see the wifi icon change to the ethernet icon. It looks like this:
![]()
Click on this icon and select "Network and Internet Settings" from the connections menu at bottom right, as shown in the picture below.
Note that if Windows has a choice between ethernet and Wifi, it's going to choose ethernet because it's faster.
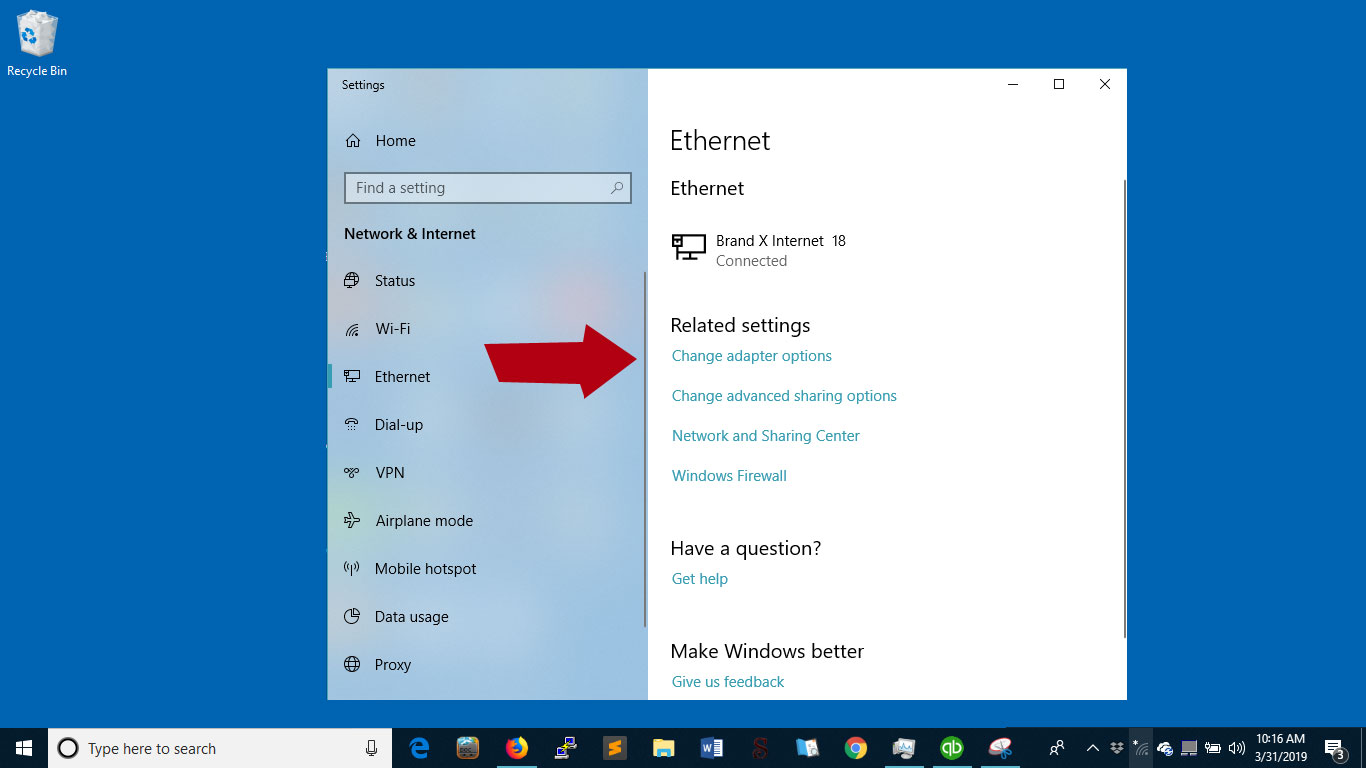
On the next screen select "Ethernet".
Select "Change Adapater Options" as shown here.
Select Ethernet as shown here.
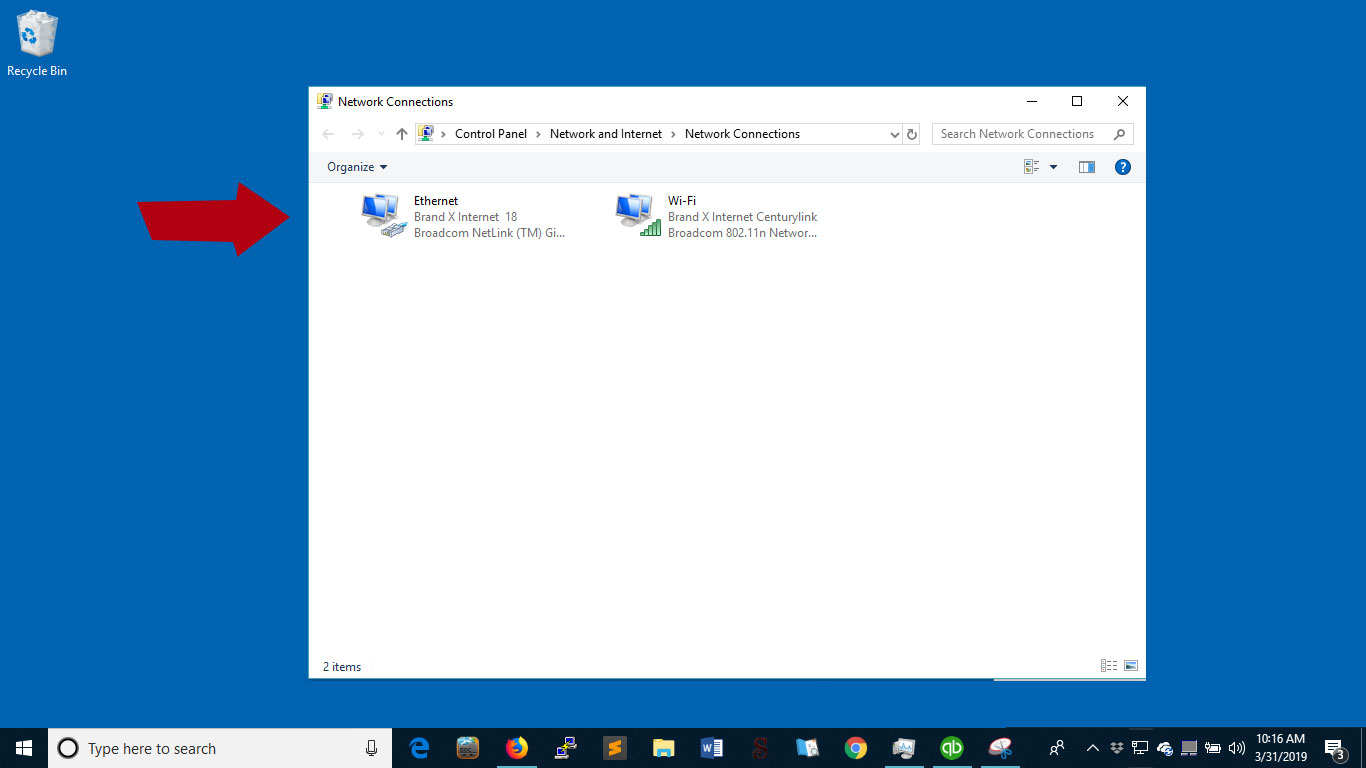
It does take quite a few clicks to get to the network settings for our ethernet line.
These are the options for our connection.
From "Ethernet" Status" (below left) we select "Properties". This takes you to "Ethernet Properties" (below center).
Now click on "Internet Protocol Version 4" and hit "Properties. This takes you to "Internet Protocol Version 4 Properties".
This is where you find the networking options for your ethernet connection.
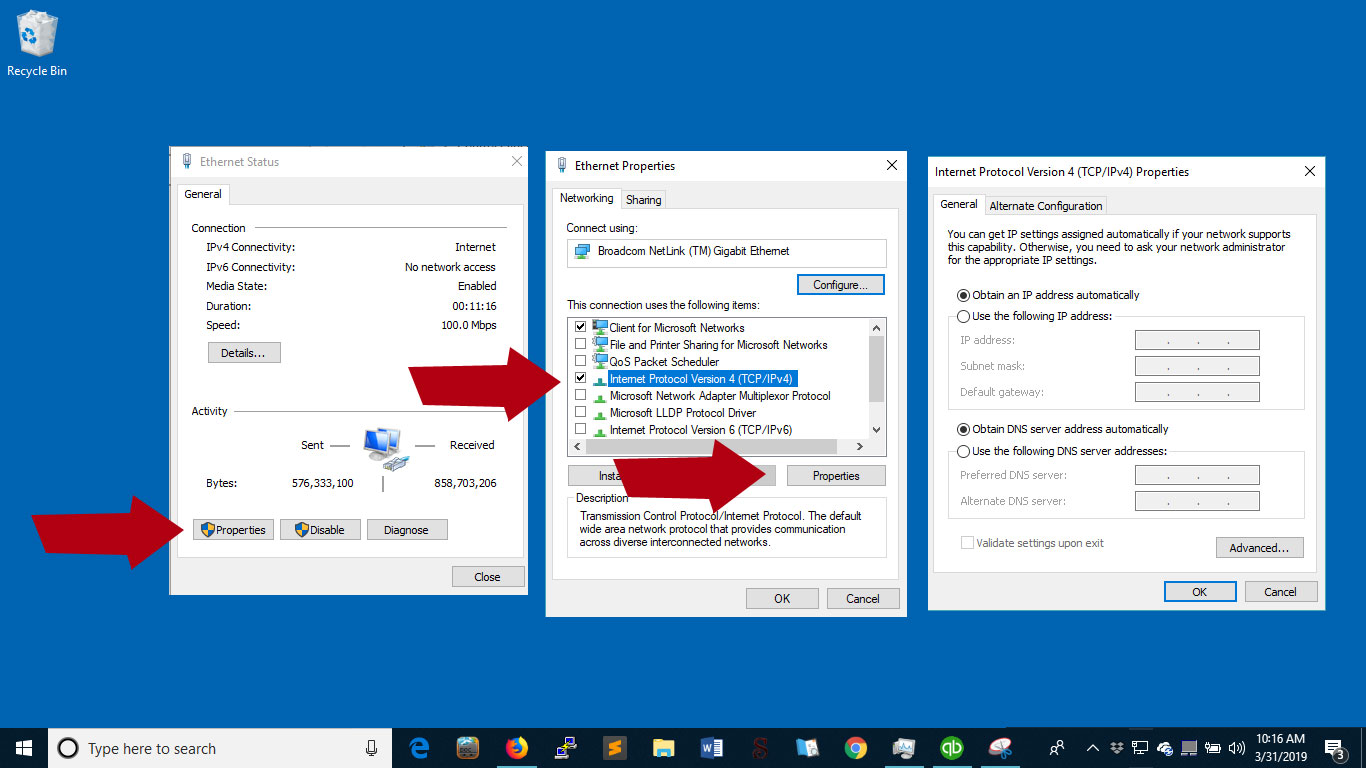
We can set a variety of options here.
We can set the address to DHCP, which means automatic setup. Alternately we could set a static ip address here.
If you are not sure, set it to DHCP, which is the default setting.
We can also have the DNS servers set automatically via DHCP, or we can use our own settings.
I don't like to use Frontier's nam servers. To do this, select "Use the following" and then type in the servers you want to use.
I like to use Google, so i'm going to set the name serves to 8.8.8.8 and 8.8.4.4.
It will work either way, but if I use Google's name servers I get less little messages from Frontier when a site is down or there is some other issue. Frontier's advertising is not helpful when there is a site down.
Hit "OK" a couple of times and save your work.
We haven't really changed anything important, I just showed you where the settings are.
Note that there is an icon with an image of a computer that has replaced the wifi icon in the lower right side of the screen.
Looka like we are online, so everything is good!